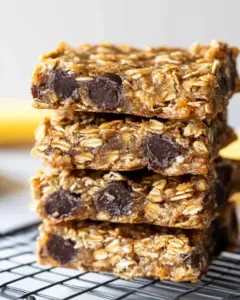
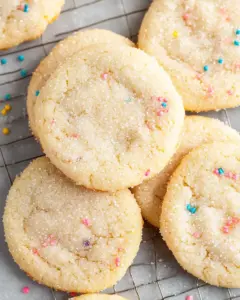
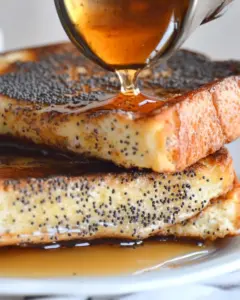
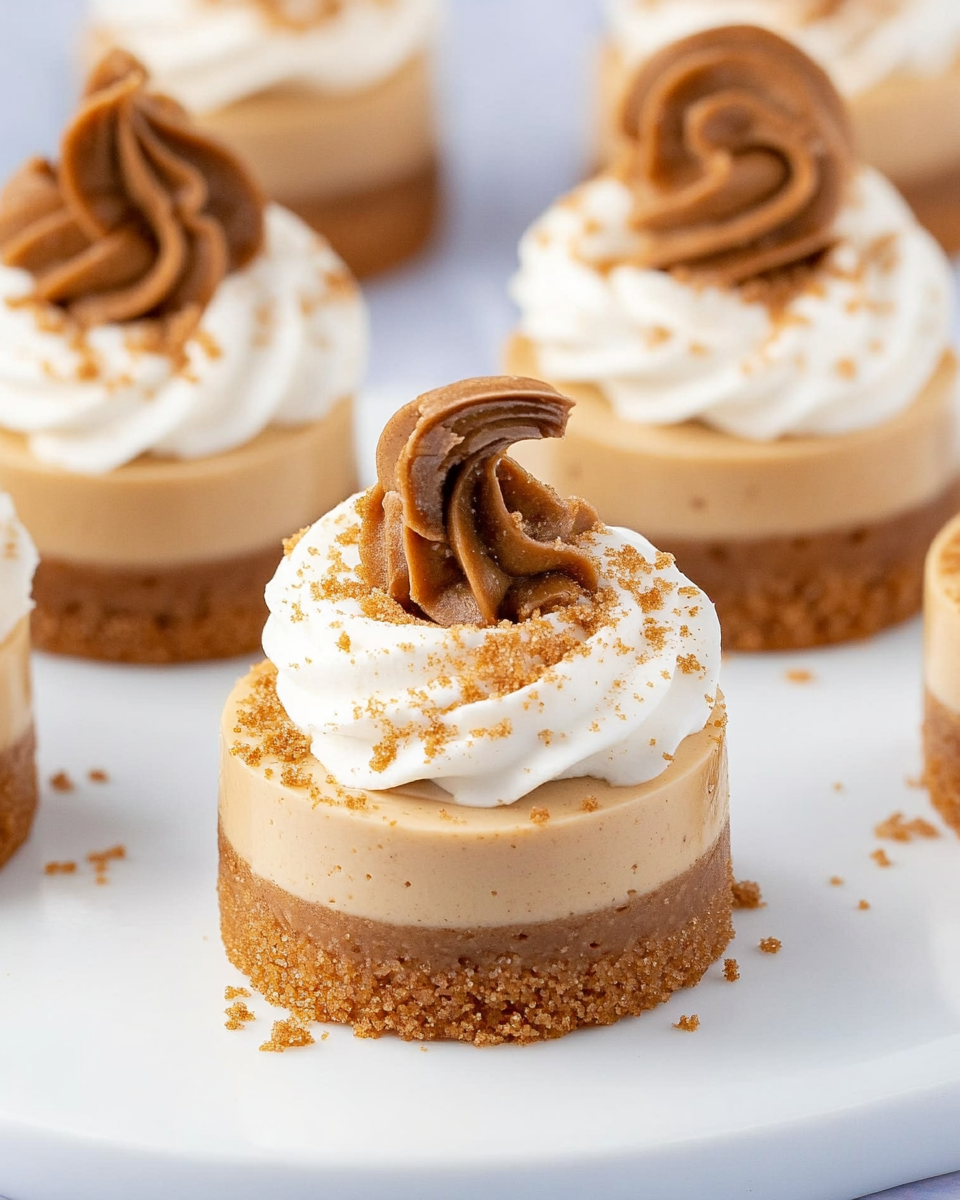
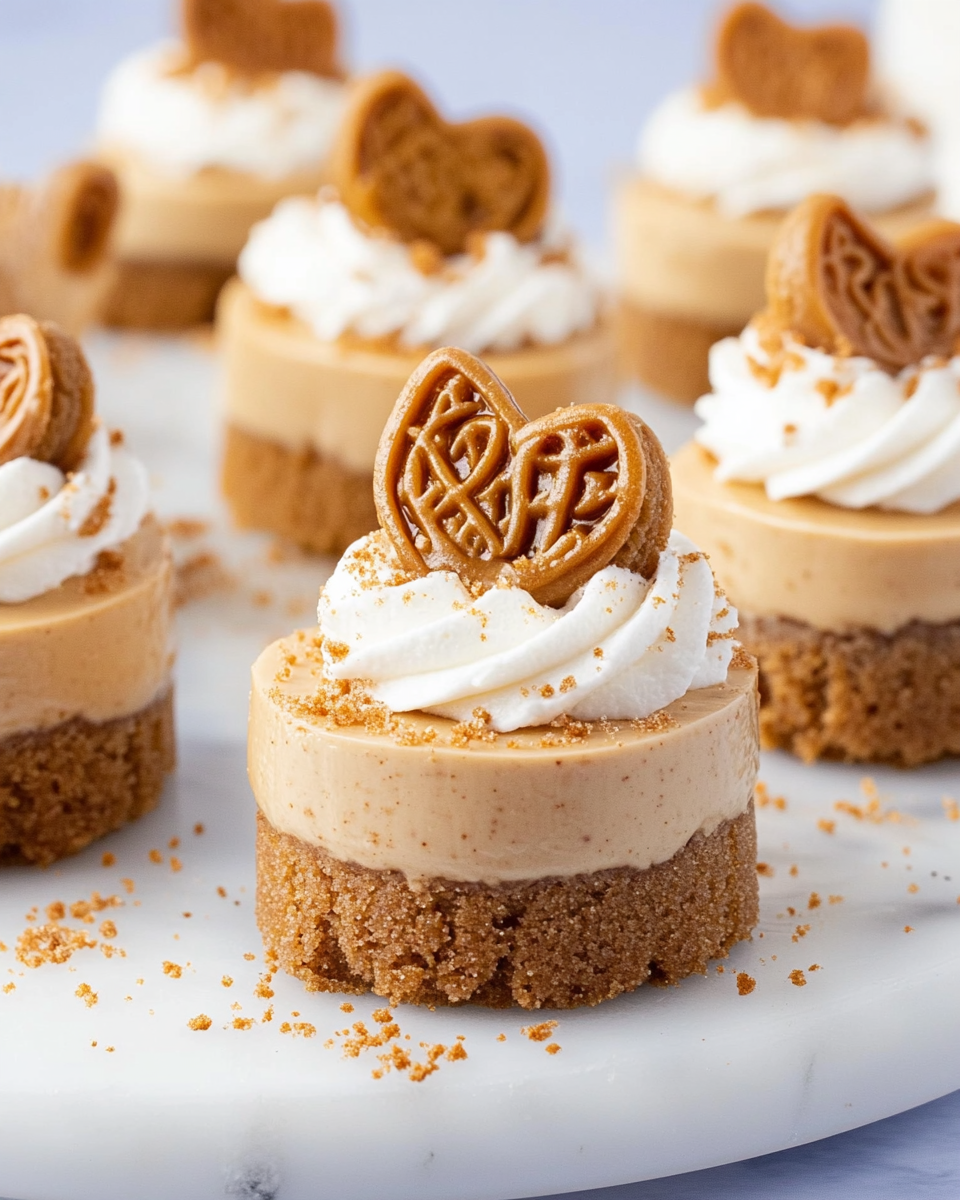
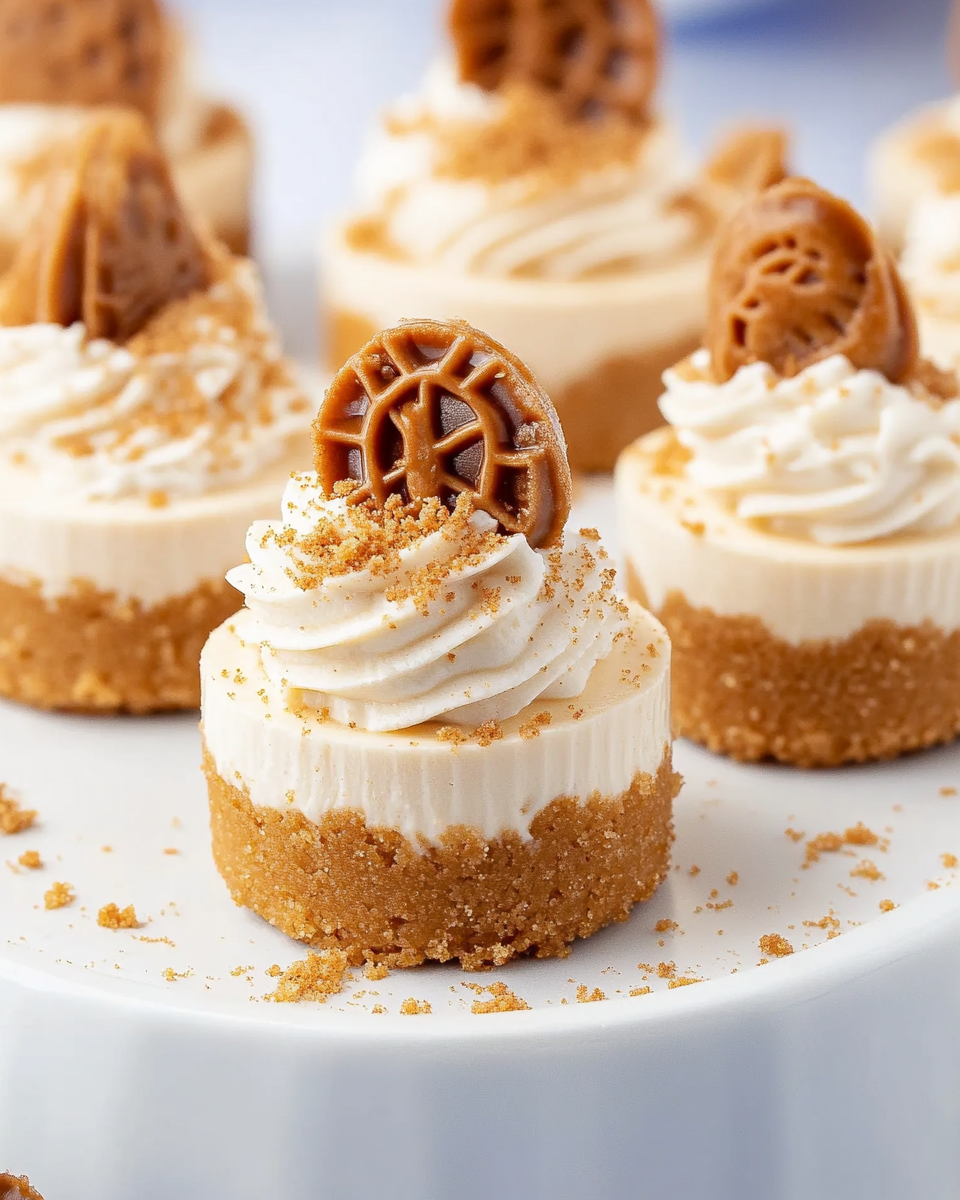
These Mini Biscoff Cheesecakes are a dream dessert for cookie butter lovers. With a crunchy Biscoff cookie crust, a smooth Biscoff cheesecake filling, and a drizzle of melted cookie butter, they are an irresistible no-bake treat. Their bite-sized nature makes them perfect for parties, gatherings, or simply enjoying a small indulgence at home.
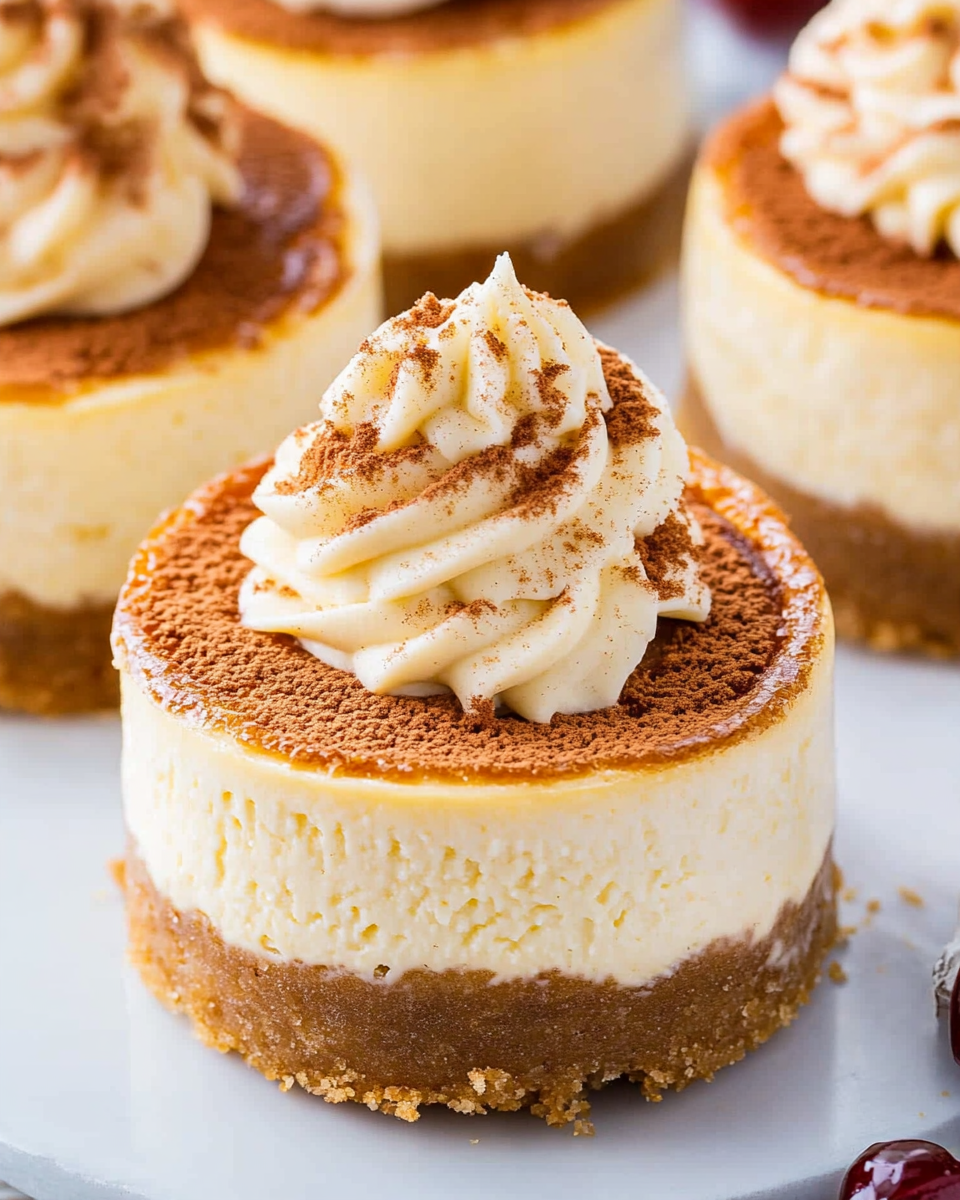
Why You’ll Love This Recipe
- No-Bake – No need to use the oven, making it easy to prepare.
- Rich & Creamy – The cheesecake filling is smooth and packed with Biscoff flavor.
- Perfect for Sharing – Mini cheesecakes make serving effortless.
- Full of Cookie Butter Flavor – Every layer is infused with the warm, spiced taste of Biscoff cookies.
Preparation Phase & Tools to Use
Essential Tools and Equipment
- Mini Cheesecake Pan or Muffin Tin – Helps create uniform, easy-to-serve portions.
- Mixing Bowls – Needed for the crust and filling preparation.
- Electric Mixer – Ensures a smooth and fluffy cheesecake filling.
- Piping Bags – For neatly filling the cheesecake molds and decorating.
- Microwave or Small Saucepan – To melt the Biscoff spread for drizzling.
Preparation Tips
- Use Room-Temperature Cream Cheese – This prevents lumps and creates a smoother filling.
- Chill the Cheesecakes Overnight – Allows them to fully set for the best texture.
- Press the Crust Firmly – A compact crust helps hold the cheesecakes together.
Ingredients
For the Biscoff Cookie Crust:
- 2 cups Biscoff cookie crumbs
- 2 tablespoons granulated sugar
- 6 tablespoons salted butter, melted
For the Biscoff Cheesecake Filling:
- 16 oz cream cheese, room temperature
- 1¾ cups powdered sugar
- 1 cup Biscoff spread (cookie butter)
- 2 teaspoons vanilla extract
- 1 cup heavy cream
For the Whipped Cream:
- ¾ cup heavy cream
- 2 tablespoons powdered sugar
- ½ teaspoon vanilla extract
For Additional Toppings:
- ¾ cup Biscoff spread (cookie butter), melted
- 2 tablespoons Biscoff cookie crumbs
- 12 Biscoff cookies, halved
Step-by-Step Directions
1. Make the Biscoff Cookie Crust:
- In a mixing bowl, combine the Biscoff cookie crumbs, granulated sugar, and melted butter. Mix until well combined.
- Portion about 1 tablespoon of the mixture into each cup of a mini cheesecake pan or lined muffin tin.
- Firmly press the crumbs down using the back of a spoon or a small glass. Set aside.
2. Prepare the Cheesecake Filling:
- In a large bowl, beat the cream cheese, powdered sugar, Biscoff spread, and vanilla extract with an electric mixer until smooth and creamy.
- Pour in the heavy cream and continue whipping on medium-high speed until the mixture thickens and becomes light and fluffy.
3. Assemble and Chill:
- Transfer the cheesecake filling to a piping bag for easy distribution.
- Pipe the filling onto the prepared Biscoff crusts, slightly above the top of the pan.
- Refrigerate for at least 12 hours or overnight to allow the cheesecakes to set.
- Once fully chilled, carefully remove the cheesecakes from the pan.
4. Make the Whipped Cream:
- In a mixing bowl, whip the heavy cream, powdered sugar, and vanilla extract until medium-stiff peaks form.
- Transfer the whipped cream to a piping bag fitted with a Wilton 1M piping tip for easy decorating.
5. Decorate and Serve:
- Melt the Biscoff spread in the microwave for about 30 seconds, then drizzle it over the cheesecakes.
- Pipe a small swirl of whipped cream on top of each cheesecake.
- Sprinkle with Biscoff cookie crumbs and garnish with half of a Biscoff cookie.
Serving Suggestions
1. Fresh Berries
The sweetness of the cheesecake pairs beautifully with the tartness of fresh berries. Serve with:
- Strawberries
- Raspberries
- Blueberries
- Blackberries
Berries add a refreshing contrast to the creamy texture of the cheesecake while enhancing the overall flavor balance.
2. Whipped Cream Variations
While the recipe includes a classic whipped cream topping, you can experiment with different flavors, such as:
- Cinnamon Whipped Cream – Add ½ teaspoon of cinnamon to the whipped cream for extra warmth.
- Chocolate Whipped Cream – Mix in 1 tablespoon of cocoa powder for a subtle chocolate touch.
- Maple Whipped Cream – Replace the vanilla extract with maple syrup for a hint of caramelized sweetness.
3. Coffee or Espresso
The deep, rich notes of coffee or espresso complement the caramelized spice flavors of Biscoff. Serve these cheesecakes with:
- Freshly brewed espresso
- Cappuccino
- Iced coffee
- Latte
A strong coffee balances the sweetness, making each bite more enjoyable.
4. Caramel Sauce Drizzle
Enhance the dessert by drizzling warm caramel sauce over the cheesecakes. The buttery, slightly salty flavor of caramel complements the spiced cookie butter beautifully.
5. Dark Chocolate Shavings
A sprinkle of dark chocolate shavings or cocoa powder adds a touch of bitterness, preventing the dessert from being overly sweet.
6. Crushed Nuts
For added crunch, top the cheesecakes with:
- Chopped pecans
- Toasted almonds
- Crushed hazelnuts
The extra texture enhances the creaminess of the cheesecake filling.
7. Ice Cream Pairing
Serve the cheesecakes alongside a scoop of:
- Vanilla bean ice cream
- Salted caramel ice cream
- Cinnamon ice cream
The contrast between the chilled cheesecake and the melting ice cream creates a perfect bite.
8. Spiced Tea or Chai Latte
If you prefer tea over coffee, a warm chai latte or spiced black tea enhances the cinnamon and nutmeg flavors in Biscoff spread.
Common Mistakes to Avoid & How to Perfect the Recipe
While this recipe is straightforward, small mistakes can affect the final outcome. Here are some common pitfalls and how to avoid them.
1. Overmixing the Cheesecake Filling
Overmixing can cause the filling to become too loose, preventing it from setting properly. Mix just until smooth and fluffy, ensuring a thick and creamy texture.
2. Not Pressing the Crust Firmly Enough
A loose crust may crumble when removing the cheesecakes from the pan. Use the back of a spoon or a flat-bottomed glass to press the crust firmly into the molds.
3. Skipping the Chilling Time
The cheesecakes need at least 12 hours in the refrigerator to fully set. Rushing this step can result in a soft, unstable texture.
4. Using Cold Cream Cheese
Cold cream cheese leads to a lumpy filling. Let it come to room temperature before mixing to ensure a smooth consistency.
5. Overwhipping the Heavy Cream
Overwhipping can turn the cream into butter, ruining the texture of the cheesecake. Whip just until medium-stiff peaks form for the best consistency.
6. Not Using Cupcake Liners in a Muffin Tin
If you don’t have a mini cheesecake pan, a muffin tin with cupcake liners makes removal easier and prevents sticking.
7. Not Letting the Melted Biscoff Spread Cool Slightly
Drizzling hot Biscoff spread over cold cheesecakes can cause it to melt the whipped cream or soak into the filling. Let it cool slightly before drizzling for a neater presentation.
8. Storing Improperly
To maintain freshness, store the cheesecakes in an airtight container in the refrigerator for up to 3 days. If freezing, ensure they are well-wrapped and thaw in the refrigerator before serving.
By following these tips and avoiding common mistakes, you can achieve perfectly creamy, rich, and well-balanced Mini Biscoff Cheesecakes every time.
Recipe Tips for the Best Mini Cheesecakes
1. Use Full-Fat Cream Cheese
For the creamiest texture, always use full-fat cream cheese. Low-fat versions can result in a less stable filling.
2. Crush the Biscoff Cookies Finely
A fine crumb texture creates a compact crust that holds its shape. If the crumbs are too coarse, the crust may fall apart when removing the cheesecakes from the pan.
3. Chill the Cheesecakes Overnight
Although they may seem set after a few hours, chilling overnight ensures the best texture and flavor development.
4. Use a Piping Bag for a Clean Finish
A piping bag makes it easier to distribute the cheesecake filling evenly and creates a smooth, polished look.
5. Warm the Biscoff Spread for Easy Drizzling
For a smooth drizzle, microwave the Biscoff spread for about 30 seconds, stirring until pourable. Let it cool slightly before drizzling over the cheesecakes.
Storage and Reheating Instructions
Refrigeration
- Store the cheesecakes in an airtight container in the refrigerator for up to 3 days.
- Keep them chilled until ready to serve, as they soften at room temperature.
Freezing
- Place the cheesecakes on a baking sheet and freeze until solid (about 2 hours).
- Transfer them to a freezer-safe container or wrap them individually in plastic wrap, then place them in a sealed bag.
- They can be frozen for up to 3 months.
Thawing
- Thaw in the refrigerator overnight before serving.
- Avoid thawing at room temperature, as the filling may become too soft.
Making Ahead
These cheesecakes are perfect for meal prep and can be made up to two days in advance. Simply store them covered in the refrigerator until ready to serve.
Frequently Asked Questions (FAQs)
1. Can I make these without a mini cheesecake pan?
Yes, you can use a standard muffin tin lined with cupcake liners for easy removal. The cheesecakes may be slightly larger, but the recipe will still work well.
2. What can I use instead of Biscoff cookies for the crust?
If you cannot find Biscoff cookies, you can use:
- Graham crackers
- Golden Oreos
- Digestive biscuits
- Gingersnap cookies
3. Can I substitute the Biscoff spread?
While Biscoff spread gives the cheesecakes their signature flavor, you can substitute it with:
- Peanut butter for a nutty twist
- Nutella for a chocolatey variation
- Almond butter for a slightly milder flavor
4. How do I prevent my cheesecake filling from being too soft?
Ensure you:
- Whip the heavy cream properly until medium-stiff peaks form.
- Chill the cheesecakes long enough for the filling to firm up.
- Do not overmix the ingredients, as this can make the filling too loose.
5. Can I make this into a full-sized cheesecake?
Yes, this recipe can be adapted for a 9-inch springform pan. Increase the chilling time to at least 24 hours for the best texture.
6. What’s the best way to remove the cheesecakes from the pan?
If using a mini cheesecake pan, press up from the removable bottoms to release them easily.
If using a muffin tin, gently peel away the cupcake liners before serving.
7. Can I decorate these differently?
Absolutely. Try topping with:
- White chocolate curls
- A sprinkle of cinnamon or cocoa powder
- A caramel drizzle instead of Biscoff spread
8. Can I serve these at room temperature?
They are best served chilled to maintain their structure and creamy texture. If left at room temperature for too long, they may become too soft.
Conclusion
These Mini Biscoff Cheesecakes are an easy yet impressive dessert that combines a crunchy cookie crust with a rich, creamy filling. Their no-bake nature makes them ideal for any occasion, and they can be customized with different toppings and flavors.
Whether serving them at a gathering or enjoying them as an everyday treat, these cheesecakes deliver a perfect balance of sweetness, spice, and indulgence. Make them ahead, store them properly, and enjoy their irresistible flavor in every bite.
Mini Biscoff Cheesecakes
Ingredients
For the Biscoff Cookie Crust:
- 2 cups Biscoff cookie crumbs
- 2 tablespoons granulated sugar
- 6 tablespoons salted butter melted
For the Biscoff Cheesecake Filling:
- 16 oz cream cheese room temperature
- 1¾ cups powdered sugar
- 1 cup Biscoff spread cookie butter
- 2 teaspoons vanilla extract
- 1 cup heavy cream
For the Whipped Cream:
- ¾ cup heavy cream
- 2 tablespoons powdered sugar
- ½ teaspoon vanilla extract
- For Additional Toppings:
- ¾ cup Biscoff spread cookie butter, melted
- 2 tablespoons Biscoff cookie crumbs
- 12 Biscoff cookies halved
Instructions
Make the Biscoff Cookie Crust:
- In a mixing bowl, stir together the Biscoff cookie crumbs, granulated sugar, and melted butter until well combined.
- Portion about 1 tablespoon of the mixture into each cup of a mini cheesecake pan.
- Firmly press the crumbs down to form the crust. Set aside.
Prepare the Cheesecake Filling:
- In a large bowl, use an electric mixer to beat together the cream cheese, powdered sugar, Biscoff spread, and vanilla extract until smooth.
- Pour in the heavy cream and whip the mixture on medium-high speed until it thickens and becomes light and fluffy.
Assemble and Chill:
- Fill a piping bag with the cheesecake mixture and pipe it onto the prepared crusts, slightly above the top of the pan.
- Refrigerate for at least 12 hours or overnight until fully set.
- After chilling, carefully remove the cheesecakes from the pan.
Make the Whipped Cream:
- In a bowl, whip the heavy cream, powdered sugar, and vanilla extract until medium-stiff peaks form.
- Transfer to a piping bag fitted with a Wilton 1M piping tip.
Decorate and Serve:
- Melt the Biscoff spread in the microwave for about 30 seconds, then drizzle over the cheesecakes.
- Pipe a small swirl of whipped cream on top.
- Sprinkle with Biscoff cookie crumbs and garnish each cheesecake with half of a Biscoff cookie.