Red Velvet Cinnamon Rolls are the perfect fusion of two beloved treats — the rich, slightly tangy flavor of red velvet cake combined with the soft, gooey texture of classic cinnamon rolls. These rolls are perfect for holiday breakfasts, Valentine’s Day brunch, or any special occasion where you want to impress guests with a vibrant, festive twist on a traditional dessert.
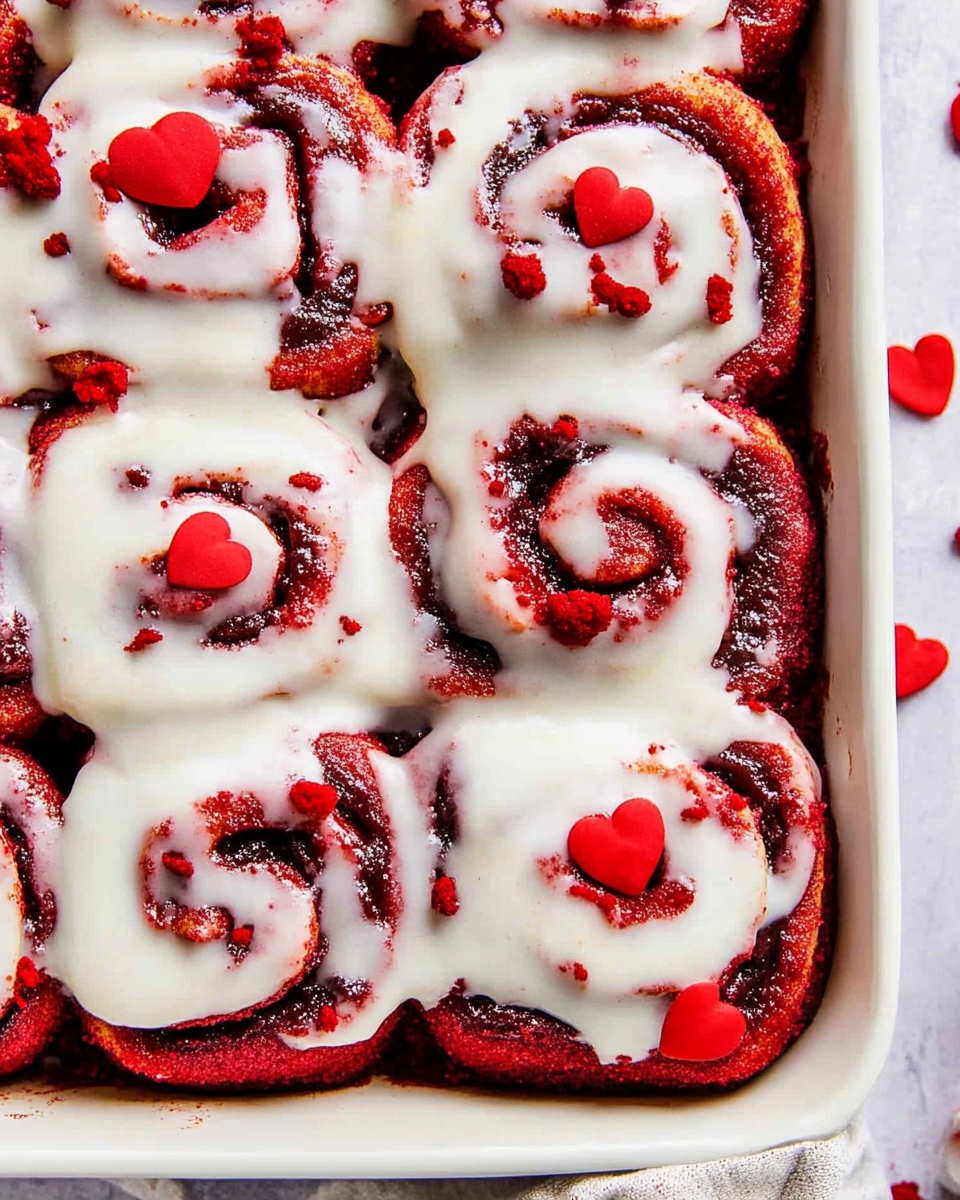
What makes these rolls so irresistible is their rich, cocoa-infused dough, enhanced with a touch of red food coloring to create that signature red velvet hue. Swirled inside is a buttery cinnamon-sugar filling that melts into the dough as it bakes. Topped with a smooth, tangy cream cheese icing, every bite delivers a balanced combination of sweet, spiced, and slightly tangy flavors.
Whether you are a seasoned baker or trying yeast dough for the first time, this step-by-step guide will help you create Red Velvet Cinnamon Rolls that are soft, fluffy, and loaded with cinnamon-sugar goodness.
Why Readers Will Love This Recipe
- Combines the flavors of red velvet cake with the comfort of homemade cinnamon rolls.
- Perfect for festive holidays like Christmas, Valentine’s Day, or Mother’s Day brunch.
- Step-by-step directions make it easy, even for beginners.
- Topped with a rich cream cheese icing for the ultimate finishing touch.
- Can be prepared ahead and baked fresh in the morning.
Essential Tools and Equipment
To achieve bakery-quality Red Velvet Cinnamon Rolls, the right tools make a difference. Here are the essentials:
- Stand mixer with a dough hook (for easier kneading)
- Large mixing bowls
- Pastry blender (to incorporate butter into dry ingredients evenly)
- Measuring cups and spoons
- Rolling pin
- 9×13-inch baking pan
- Offset spatula (for spreading the filling evenly)
- Unflavored dental floss or serrated knife (for cutting clean, even rolls)
- Kitchen thermometer (to ensure proper yeast activation)
Preparation Tips
- Use room temperature eggs, butter, and cream cheese to ensure smooth dough, filling, and icing.
- Accurately measure flour by spooning it into the measuring cup and leveling it off.
- Warm the milk to 110°F — warm, but not hot — so the yeast activates properly.
- Roll the dough evenly to create uniformly sized rolls.
- Use unflavored dental floss to slice the rolls cleanly without squishing the dough.
Ingredients
Red Velvet Dough
- 1 cup milk, warmed to 110°F
- 2 ¼ teaspoons active dry yeast (1 packet)
- 2 large eggs, room temperature
- 1 teaspoon red gel food dye
- 4 ¼ cups all-purpose flour
- ⅓ cup unsweetened cocoa powder
- 1 teaspoon salt
- ¼ cup white granulated sugar
- 10 tablespoons unsalted butter, room temperature
Cinnamon Filling
- ½ cup unsalted butter, room temperature
- 1 cup packed brown sugar (light or dark)
- 2 tablespoons ground cinnamon
- ⅓ cup heavy cream (for pouring over rolls before baking)
Cream Cheese Icing
- 4 oz cream cheese, room temperature
- 4 tablespoons unsalted butter, room temperature
- 1 cup powdered sugar, sifted
- 2 teaspoons vanilla extract
- 2 tablespoons milk
Step-by-Step Directions
1. Activate the Yeast
Warm the milk to 110°F and stir in the yeast. Let sit for about 10 minutes until foamy.
2. Mix Dry Ingredients
In a large mixing bowl, combine flour, cocoa powder, salt, and sugar. Cut in the butter using a pastry blender or your fingers until the mixture resembles coarse crumbs.
3. Combine and Knead
In a stand mixer fitted with a dough hook, combine the yeast mixture, eggs, and red food dye. Gradually add the dry ingredients and knead on medium speed for about 5 minutes until the dough becomes smooth and elastic.
4. First Rise
Grease a large bowl and place the dough inside. Cover with a towel and let rise in a warm spot for 1 hour, until doubled in size.
5. Make the Filling
In a small bowl, mix butter, brown sugar, and cinnamon until a smooth paste forms.
6. Roll Out and Fill
Roll the dough into a ¼-inch thick rectangle. Spread the cinnamon filling evenly across the dough.
7. Roll and Slice
Roll the dough tightly into a log. Use dental floss to cut into 12 equal rolls. Place them in a greased 9×13-inch pan.
8. Second Rise
Cover the pan with a towel and let the rolls rise for 20 minutes.
9. Bake
Preheat the oven to 375°F. Pour heavy cream around the rolls, ensuring even coverage. Bake for 25 to 27 minutes, until the rolls are lightly golden and cooked through.
10. Make the Icing
While the rolls bake, beat the cream cheese and butter until smooth. Add powdered sugar, vanilla, and milk. Beat until creamy.
11. Finish and Serve
Spread the icing over warm rolls. Serve immediately for the softest texture.
Serving Suggestions
Red Velvet Cinnamon Rolls are more than just breakfast pastries — they are a stunning centerpiece for brunch tables, holiday spreads, and romantic breakfasts in bed. Their vibrant red hue and irresistible cream cheese icing make them ideal for Valentine’s Day, Christmas morning, or even birthdays. To enhance their visual appeal, consider adding a sprinkle of powdered sugar, a drizzle of melted chocolate, or festive sprinkles for a seasonal twist.
These rolls are best served warm, allowing the cream cheese icing to melt slightly into the soft, cinnamon-swirled dough. For a more elevated presentation, place the rolls on a serving platter and garnish with fresh berries or mint leaves to complement the red velvet aesthetic.
Pairing these rolls with beverages is also key. A hot cup of coffee, creamy latte, or rich hot chocolate beautifully balances the sweetness and enhances the cinnamon filling. For a more refreshing option, serve with a glass of cold milk or a citrus mimosa for contrast.
Because these rolls are rich on their own, they can stand alone as a breakfast treat or dessert. However, for larger brunch spreads, they pair wonderfully with lighter sides and savory dishes, which help create a balanced meal.
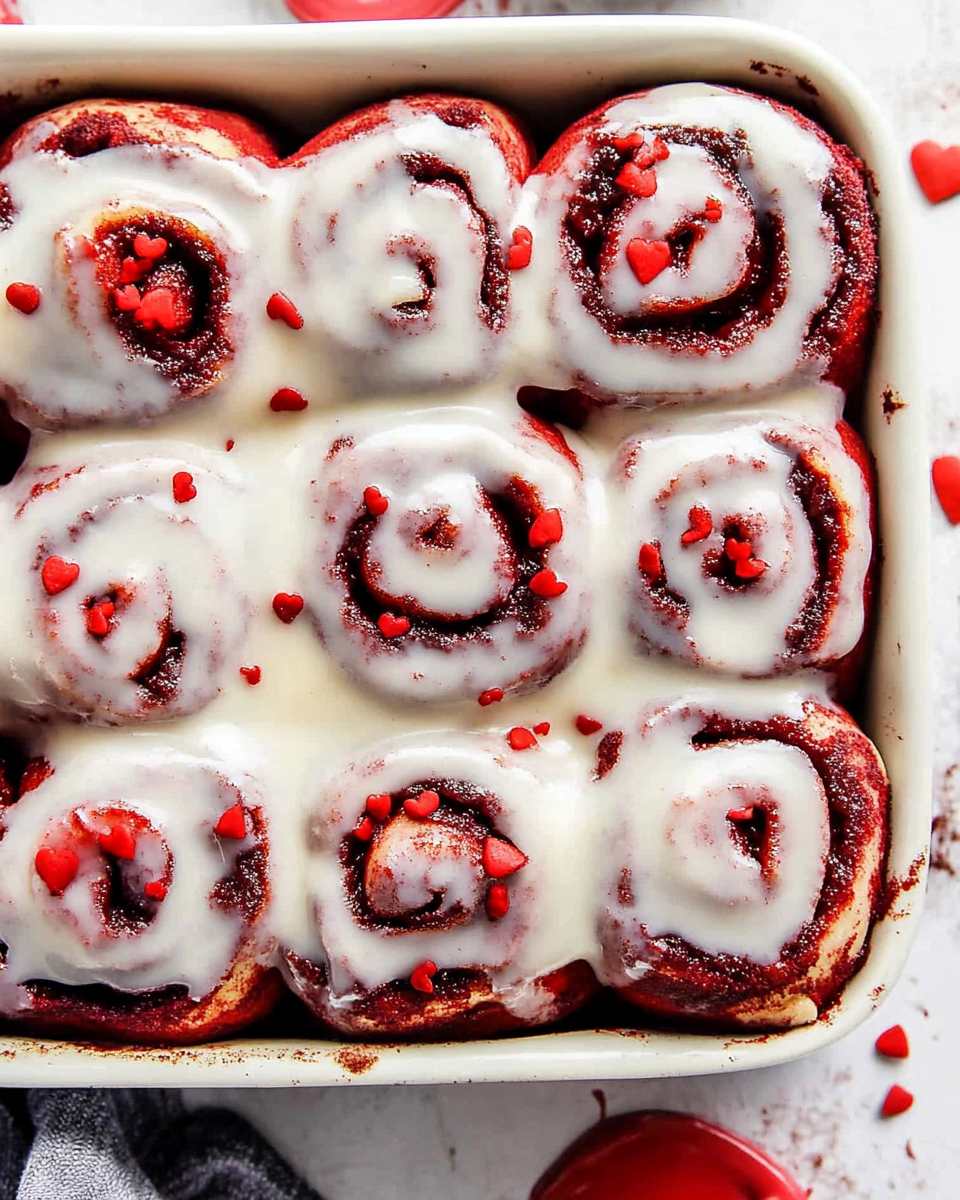
Common Mistakes to Avoid and How to Perfect the Recipe
Making Red Velvet Cinnamon Rolls from scratch may seem intimidating, especially when working with enriched dough. However, understanding common pitfalls and how to avoid them ensures you get consistently soft, fluffy rolls with vibrant red color and gooey cinnamon filling.
Using Old or Inactive Yeast
Yeast is the foundation for a successful rise. Always check expiration dates and proof your yeast properly in warm milk before adding it to the dough. If the yeast doesn’t foam after 10 minutes, it’s likely inactive and should be replaced.
Incorrect Dough Texture
The dough for Red Velvet Cinnamon Rolls should be soft and slightly sticky, but not overly wet. Measuring flour correctly — spooning it into the cup rather than scooping — prevents adding too much flour, which results in dry rolls. Knead until the dough is smooth and elastic to ensure a light texture.
Skipping Room Temperature Ingredients
Cold ingredients, especially eggs and butter, can interfere with proper dough mixing. Always allow butter, eggs, and cream cheese to come to room temperature before starting.
Uneven Filling Distribution
Spreading the cinnamon filling evenly across the dough is crucial for balanced flavor. Leaving gaps can result in bland sections, while too much filling in one spot may leak during baking.
Rolling the Dough Too Thin
The dough should be about ¼ inch thick when rolled out. Rolling it thinner can lead to weak rolls that collapse during baking.
Cutting Rolls with a Knife
Using a serrated knife can compress the dough and filling, resulting in uneven rolls. Dental floss is the best tool for making clean cuts without squishing the log.
Skipping the Heavy Cream
Pouring heavy cream around the rolls before baking may seem optional, but it’s essential for ultra-soft, gooey rolls. The cream adds moisture and helps create the signature soft texture.
Overbaking
Overbaking dries out the rolls. Bake until the internal temperature reaches 160°F or until the tops are just set. They will continue cooking slightly from residual heat after being removed from the oven.
8 Side Dish Recommendations
While Red Velvet Cinnamon Rolls can certainly be the star of the show, adding complementary side dishes rounds out your breakfast or brunch menu. These eight options pair beautifully with the rich flavors of the rolls.
1. Fresh Fruit Salad
A bright, fresh fruit salad with berries, citrus, and melons helps cut through the richness of the rolls with natural sweetness and acidity.
2. Greek Yogurt Parfait
Layered with granola and fruit, a yogurt parfait offers creamy contrast and a hint of tanginess to balance the sweet rolls.
3. Scrambled Eggs
A simple side of soft, fluffy scrambled eggs provides a savory element to balance the sugar and spice of the rolls.
4. Crispy Bacon
Salty, crispy bacon contrasts perfectly with the soft, sweet rolls. The combination of sweet and savory is always a hit.
5. Smoked Salmon Platter
For a more elegant brunch, a smoked salmon platter with capers, cream cheese, and bagels adds a touch of sophistication alongside the rolls.
6. Spiced Apple Compote
Warm, gently spiced apples pair beautifully with the cinnamon filling in the rolls, echoing the warm spice flavors.
7. Mimosas or Sparkling Lemonade
Bright, bubbly drinks like mimosas, bellinis, or sparkling lemonade provide a refreshing contrast to the decadent cream cheese icing.
8. Breakfast Sausage Links
Savory sausage links balance the sweetness of the rolls, providing a hearty protein option for guests with bigger appetites.

Storage and Reheating Instructions
Proper storage ensures that your Red Velvet Cinnamon Rolls stay soft and delicious, whether you enjoy them the same day or save them for later. These rolls are best fresh, but they store well with a few key steps.
Storing at Room Temperature
If you plan to eat the rolls within 24 hours, cover them tightly with plastic wrap or store them in an airtight container. Keep them at room temperature to maintain the soft texture. Avoid leaving them uncovered, as this can cause the cream cheese icing to dry out.
Refrigerating for Extended Freshness
For longer storage, place the fully cooled rolls in an airtight container and refrigerate for up to 4 days. The cream cheese icing contains dairy, so refrigeration is recommended if storing beyond a day. However, refrigeration can cause the rolls to firm up, so gentle reheating is important.
Freezing for Later
Red Velvet Cinnamon Rolls can also be frozen. For best results, freeze the rolls before adding the icing. Wrap each roll individually in plastic wrap, then place them in a freezer-safe bag or container. Freeze for up to 3 months. When ready to serve, thaw at room temperature and warm in the oven before adding fresh icing.
Reheating for Best Texture
To bring the rolls back to life, reheat them gently. Microwave individual rolls for 15-20 seconds or bake in a 300°F oven for about 10 minutes. Cover the rolls loosely with foil to prevent drying out during reheating. Adding a small drizzle of milk or cream before reheating can help restore moisture, especially if they were refrigerated or frozen.
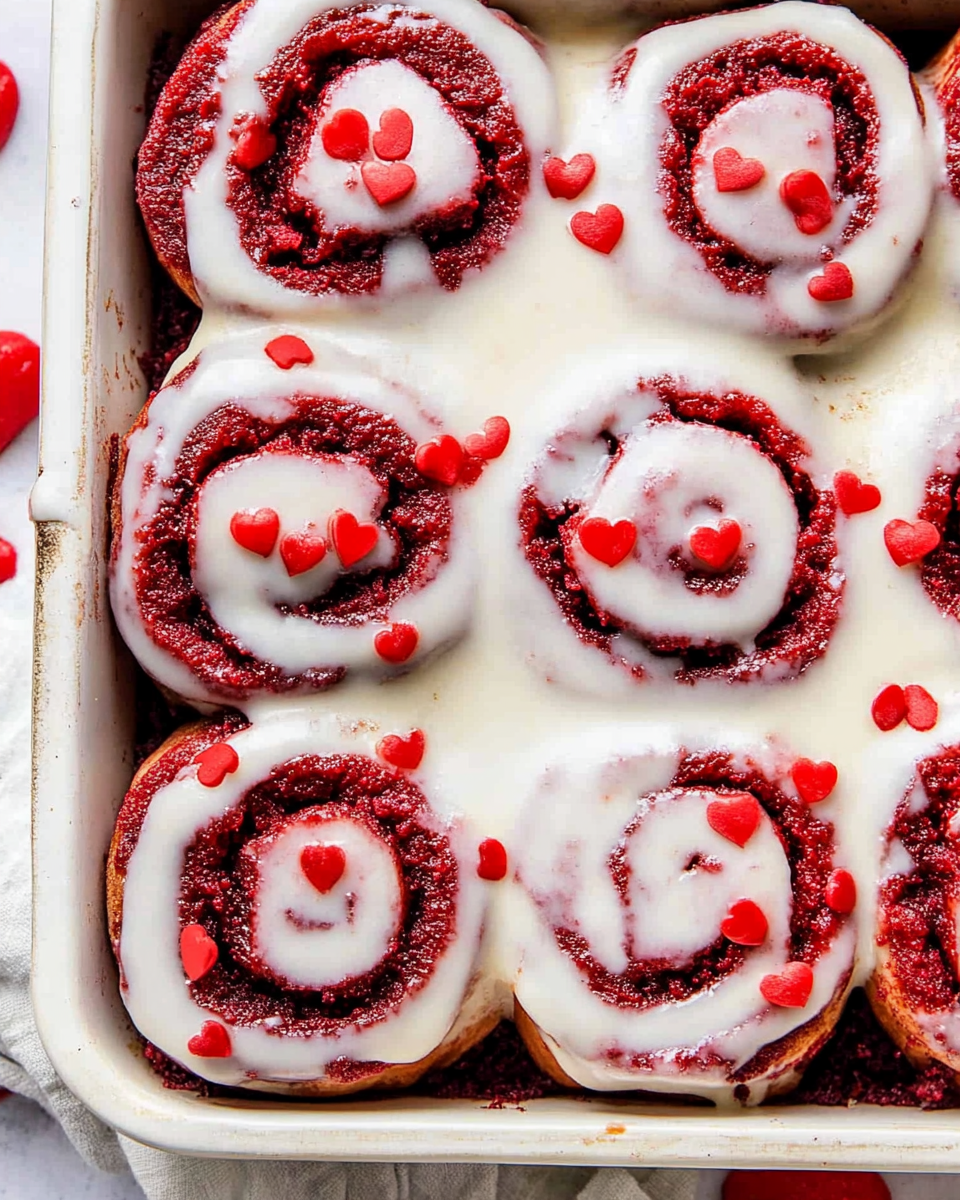
Frequently Asked Questions
Can I make the dough ahead of time?
Yes, the dough can be prepared in advance. After the first rise, cover the bowl tightly with plastic wrap and refrigerate overnight. Let the dough come to room temperature for about 30 minutes before rolling, filling, and assembling.
How do I get a bright red color in the dough?
The key to vibrant color is using high-quality red gel food coloring. Liquid food dye can water down the dough and produce a duller shade. Brands like Americolor or Wilton work well for bold, consistent color.
Can I substitute the cream cheese icing?
Absolutely. For a lighter option, use a simple vanilla glaze made with powdered sugar, milk, and vanilla extract. You could also try a whipped cream topping or even a drizzle of melted white chocolate.
Why do I need to pour heavy cream over the rolls before baking?
This step is crucial for soft, gooey rolls. The heavy cream soaks into the dough during baking, adding moisture and creating that soft, pull-apart texture. It also balances the cinnamon filling and helps prevent the rolls from drying out.
Can I use instant yeast instead of active dry yeast?
Yes, you can substitute instant yeast. Since instant yeast activates more quickly, you can skip the initial proofing step and add the yeast directly to the dry ingredients. Reduce the rise time slightly, as instant yeast works faster.
What is the best flour to use for these rolls?
All-purpose flour works best, providing a soft, fluffy texture while still holding the filling well. Avoid bread flour, which can make the rolls too chewy, and cake flour, which may lack structure.
How do I know when the rolls are fully baked?
The rolls are done when the tops are lightly golden and a thermometer inserted into the center reads 160°F. The dough should spring back lightly when pressed. Be careful not to overbake, as enriched dough can dry out quickly.
Can I make these without a stand mixer?
Absolutely. While a stand mixer speeds up the process, you can knead the dough by hand. It will take about 8-10 minutes of kneading on a lightly floured surface until the dough is smooth and elastic.
Can I add other fillings or toppings?
Definitely. Consider adding chopped pecans, mini chocolate chips, or even a swirl of raspberry preserves inside the rolls. For toppings, you could add a drizzle of white or dark chocolate over the cream cheese icing for an extra decadent touch.
Conclusion
Red Velvet Cinnamon Rolls are the perfect combination of festive color, rich chocolate flavor, and warm cinnamon spice. With their striking red hue and gooey cinnamon center, they are ideal for special occasions or simply elevating a weekend breakfast. Topped with smooth cream cheese icing, they offer the perfect balance of sweetness and tang.
This recipe offers a great opportunity to impress guests, surprise a loved one, or treat yourself to homemade bakery-quality rolls. Whether served at Christmas brunch, a Valentine’s Day breakfast, or just because, these Red Velvet Cinnamon Rolls bring a touch of celebration to any table.
With easy-to-follow steps, make-ahead options, and plenty of customization potential, they are a versatile recipe for any home baker’s collection. Try this recipe today, and enjoy the irresistible blend of red velvet and cinnamon roll flavors in every bite.

Red Velvet Cinnamon Rolls
Ingredients
Red Velvet Dough
- 1 cup milk warmed to 110°F
- 2 ¼ teaspoons active dry yeast or 1 full packet
- 2 large eggs room temperature
- 1 teaspoon red gel food dye e.g., Americolor Super Red
- 4 ¼ cups all-purpose flour
- ⅓ cup unsweetened cocoa powder
- 1 teaspoon salt
- ¼ cup white granulated sugar
- 10 tablespoons unsalted butter room temperature
Cinnamon Filling
- ½ cup unsalted butter room temperature
- 1 cup brown sugar packed (light or dark)
- 2 tablespoons ground cinnamon
- ⅓ cup heavy cream
Cream Cheese Icing
- 4 oz cream cheese room temperature
- 4 tablespoons unsalted butter room temperature
- 1 cup powdered sugar sifted
- 2 teaspoons pure vanilla extract
- 2 tablespoons milk
Instructions
Red Velvet Dough
- Activate the Yeast: Warm the milk to 110°F (warm but not hot) in the microwave. Stir in the yeast and let sit for 10 minutes until frothy.
- Mix Dry Ingredients: In a large mixing bowl, combine flour, cocoa powder, sugar, and salt. Add the cubed butter and blend it in using a pastry blender (or your fingers) until it resembles pea-sized crumbs.
- Make the Dough: Using a stand mixer with a dough hook, add the milk/yeast mixture, lightly beaten eggs, and red food dye to the dry ingredients. Mix on low speed until the dough starts to form.
- Knead the Dough: Increase to medium speed and knead for 5 minutes, until smooth and elastic. The dough should have a bright red color.
- First Rise: Preheat the oven to 200°F, then turn it off. Spray a large bowl with nonstick spray, place the dough inside, and cover with a kitchen towel. Let rise in the warm oven for 1 hour, or until doubled in size.
Cinnamon Filling
- In a small bowl, use a hand mixer to beat the butter, brown sugar, and cinnamon into a smooth, thick paste.
Assemble the Rolls
- Roll the risen dough onto a lightly floured surface into a large rectangle about ¼ inch thick.
- Spread the cinnamon filling evenly over the dough, making sure to reach the edges.
- Roll the dough tightly from the short side to form a log. Trim the uneven ends.
- Use unflavored dental floss or a serrated knife to cut the log into 12 equal rolls.
- Spray a 9×14-inch casserole pan (or 9×13-inch baking pan) with nonstick spray. Arrange the rolls in the pan, cover with a towel, and let rise for 20 minutes.
Bake the Rolls
- Preheat the oven to 375°F. Pour the heavy cream around the rolls in the pan.
- Bake for 25-27 minutes, until the tops are lightly golden or the center of the rolls reaches 160°F.
Cream Cheese Icing
- While the rolls are baking, use a hand mixer to beat the cream cheese and butter on high speed until smooth.
- Add the powdered sugar and mix on low speed until fully incorporated.
- Mix in the vanilla and milk until the icing reaches a spreadable consistency.
- Spread the icing over the rolls as soon as they come out of the oven for a gooey finish.
Notes
High Altitude: Add an extra 3 tablespoons of flour if baking at high altitude.
Room Temperature Ingredients: Pull out all dairy ingredients (milk, eggs, butter, and cream cheese) 2 hours before baking.
Kneading by Hand: If not using a mixer, mix wet and dry ingredients with a spatula, then knead on a lightly floured surface for 5-8 minutes until smooth. The dough is ready when you can stretch it thin enough to see light through it.