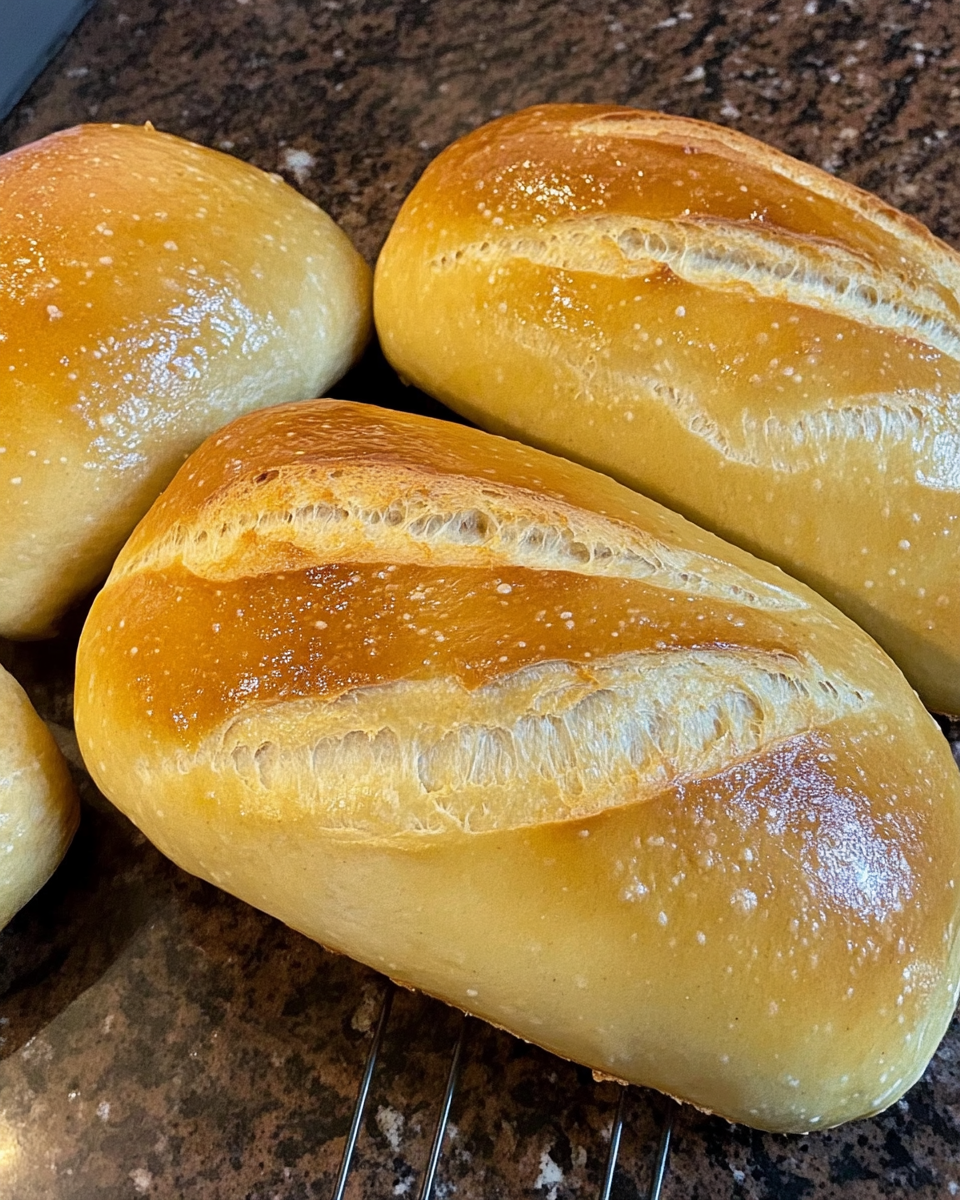
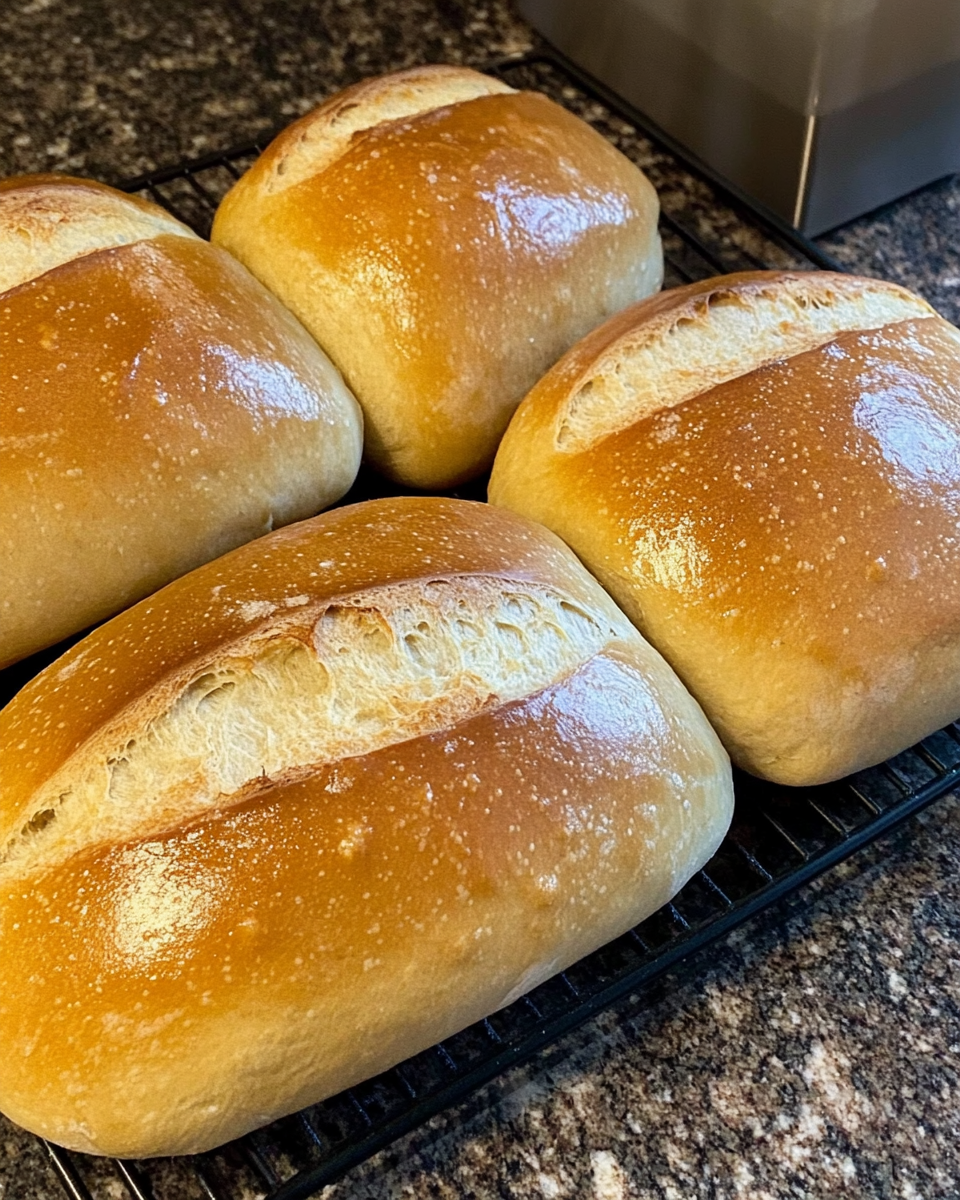
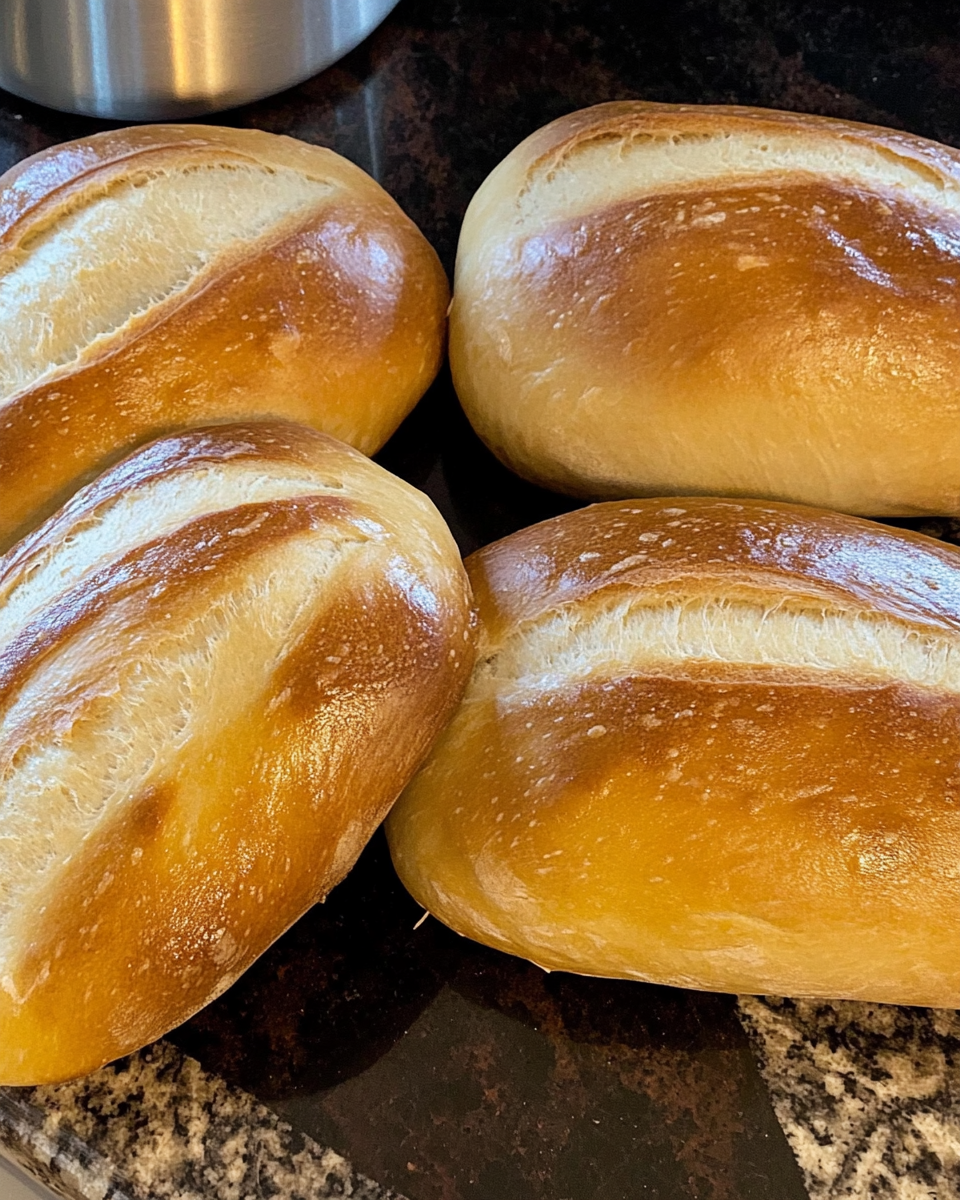
Soft sourdough sandwich bread offers the best of both worlds — the tangy complexity of sourdough combined with the soft, tender texture ideal for sandwiches and toast. Unlike rustic sourdough loaves with thick, chewy crusts, this bread is enriched with milk, butter, and a touch of sweetener, making it lighter and softer. It’s the perfect balance between traditional sourdough techniques and the comfort of classic sandwich bread.
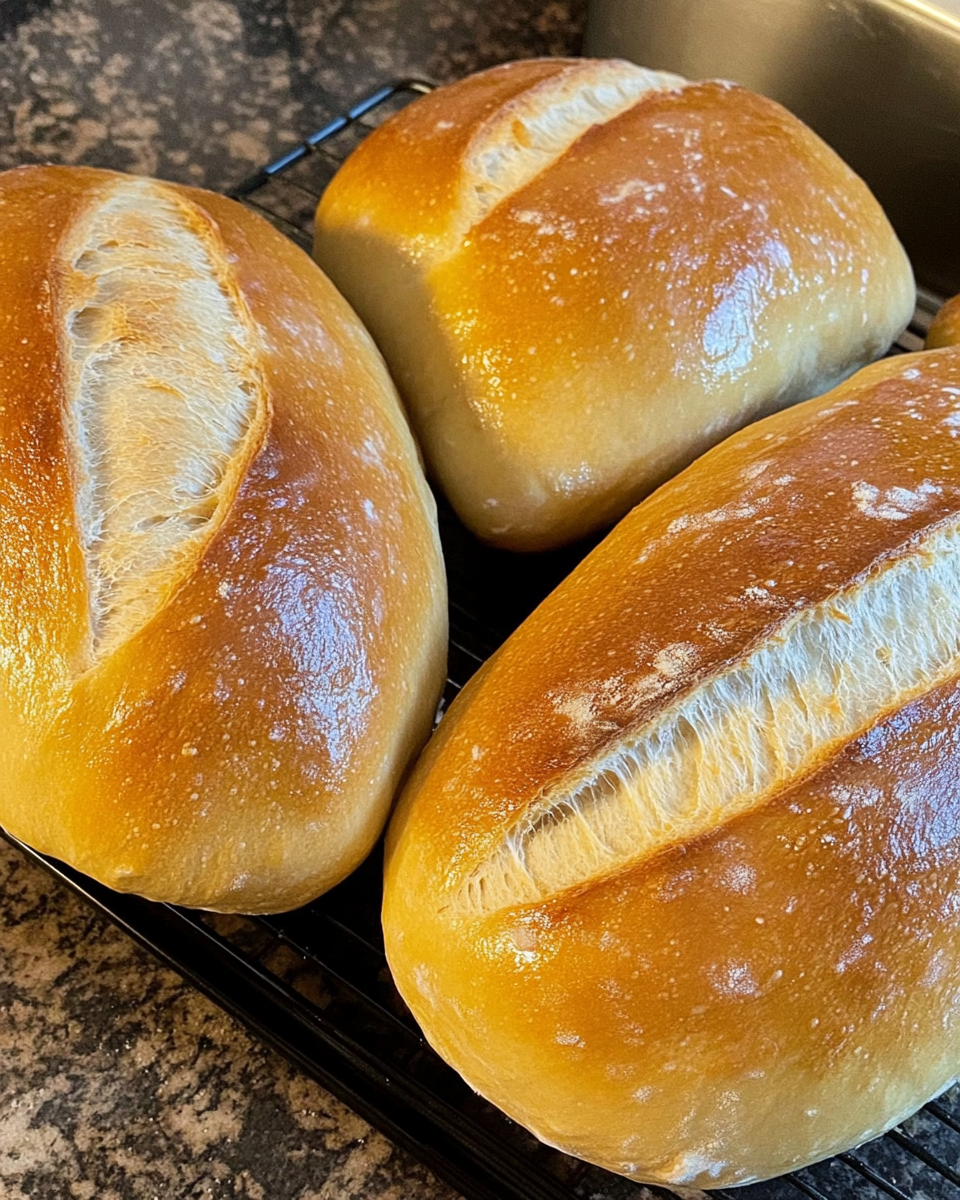
This recipe fits into your schedule easily, with minimal hands-on time spread over 24 hours. It doesn’t require constant folding or kneading, making it beginner-friendly while still delivering exceptional flavor. Whether you’re making a loaded club sandwich or a slice of buttered toast, this versatile loaf is sure to become a staple in your home baking rotation.
Why You’ll Love This Recipe
- No complicated stretch-and-fold techniques required.
- Soft, tender crumb ideal for sandwiches and French toast.
- Mild sourdough flavor balanced with milk and honey.
- Flexible schedule — perfect for busy bakers.
- Works with all-purpose or bread flour.
- Stores well and freezes beautifully.
Preparation Phase & Tools to Use
Planning Ahead for Success
Soft sourdough sandwich bread benefits from proper planning. Since sourdough fermentation is slower than conventional yeast, you’ll need to account for long fermentation and proofing times. Feed your starter in the morning, mix the pre-ferment in the evening, and finish baking the next day.
Essential Tools and Equipment
- Stand mixer with dough hook – Essential for kneading enriched dough.
- Large mixing bowls – Needed for both pre-ferment and dough mixing.
- Kitchen scale – Ensures precise measurements for flour, liquids, and starter.
- Bench scraper – Makes dividing and shaping the dough easier.
- Loaf pans – Standard 8×4 or 9×5-inch pans for uniform sandwich loaves.
- Plastic wrap or damp towel – To cover dough during proofing.
- Bread lame or sharp knife – For scoring the loaves.
- Cooling rack – Essential for proper airflow after baking.
Why Each Tool Matters
- Stand Mixer: Helps develop gluten efficiently in enriched dough.
- Loaf Pans: Shape the bread for easy slicing and sandwich-friendly sizes.
- Bread Lame: Creates controlled expansion during baking.
- Bench Scraper: Makes handling soft, sticky dough cleaner and easier.
- Scale: Ensures consistency and accuracy — vital for repeatable success.
Preparation Tips for Best Results
- Feed the Starter Properly: Use a healthy, active sourdough starter that doubles in size within 4-6 hours of feeding.
- Use Warm Liquids: This supports fermentation, especially in cooler kitchens.
- Adjust Flour Gradually: Start with less flour and add only as needed for soft, slightly tacky dough.
- Mind Your Environment: Fermentation and proofing times vary significantly with room temperature.
Ingredients List
For the Pre-ferment
- 2 cups active sourdough starter
- 2 cups water, milk, or buttermilk (warm if needed)
- 3 cups all-purpose or bread flour
For the Dough
- ¼ cup fat (butter, oil, coconut oil, or beef tallow — warm if house is cool)
- ½ cup sweetener (honey or sugar)
- 4 teaspoons salt
- 3 cups milk or buttermilk (warm if needed)
- 9-11 cups all-purpose or bread flour
Step-by-Step Directions
1. Feed the Sourdough Starter
- Combine ½ cup starter, 2 cups flour, and about 1⅓ cups warm water.
- Stir well and let sit at room temperature until active and doubled in size.
2. Prepare the Pre-ferment
- In the bowl of a stand mixer, combine 2 cups milk or buttermilk, 2 cups active starter, and 3 cups flour.
- Mix on low for 1 minute, then cover and ferment overnight at room temperature.
3. Mix the Dough
- Add fat, sweetener, salt, and milk to the pre-ferment.
- Mix on low until partially combined.
- Add 5 cups flour and mix on medium for 5-10 minutes.
- Gradually add 4-6 more cups flour, mixing until dough pulls from the bowl and is slightly sticky.
- Mix 2-3 more minutes for proper gluten development.
4. First Rise
- Transfer to an oiled bowl.
- Cover and let rise in a warm spot for 2-3 hours, or until doubled.
5. Shape the Loaves
- Divide into 4 equal pieces.
- Flatten each into a rectangle, fold edges inward, and roll into a loaf.
- Place in greased loaf pans.
6. Second Rise
- Cover and proof until loaves crest above the pan edges (about 2-3 hours).
7. Bake
- Preheat oven to 375°F (190°C).
- Score tops and bake for 30 minutes, or until internal temp reaches 190°F (88°C).
8. Cool & Serve
- Remove from pans and cool on racks.
- Brush with butter for a soft crust.
- Slice once fully cooled.
Serving Suggestions
Soft sourdough sandwich bread is incredibly versatile, making it a kitchen staple for everything from breakfast to dinner. Its tender crumb and mild sourdough flavor make it the ideal foundation for countless meals.
- Classic Sandwiches: This bread slices cleanly, holding up well to fillings without falling apart. Use it for BLTs, turkey and cheese, ham and Swiss, or grilled vegetable sandwiches.
- Toast with Toppings: Its mild flavor pairs beautifully with sweet or savory toppings. Try avocado and poached eggs, nut butter and sliced bananas, or ricotta with honey and berries.
- French Toast: The enriched dough soaks up custard beautifully while retaining enough structure to fry up golden and crisp.
- Grilled Cheese: The buttery crust crisps up perfectly, while the soft crumb allows cheese to melt evenly.
- Breakfast Toasts: Slather it with butter and jam, or pair it with scrambled eggs for a simple but satisfying breakfast.
- Open-Faced Sandwiches: Top slices with hummus, roasted vegetables, or smoked salmon and cream cheese.
- Bread for Dipping: Serve toasted slices with soups, stews, or even olive oil and balsamic vinegar.
Whether you are making a hearty lunch or a simple snack, soft sourdough sandwich bread adapts to the occasion.
Common Mistakes and How to Avoid Them
Even with a forgiving recipe, several common errors can affect the final bread. Here’s how to sidestep those issues for perfect loaves every time.
Over-proofing the Dough
One of the most common problems with enriched sourdough bread is over-proofing. When the dough rises too long, it weakens the gluten structure, leading to loaves that collapse in the oven.
How to avoid:
- Watch the dough closely during the second rise.
- Aim for the dough to rise just above the pan edges.
- When in doubt, perform the poke test — if an indentation springs back slowly, the dough is ready.
Dense or Gummy Crumb
A too-dense loaf usually results from under-proofing or insufficient gluten development. This can happen if the dough is too wet, undermixed, or proofed too cold.
How to avoid:
- Ensure the dough develops proper gluten strength during mixing.
- Use warm liquids in cooler kitchens to support yeast activity.
- Let the loaves fully proof before baking, ensuring they have enough air pockets to create a light crumb.
Loaves Sticking to Pans
This issue often occurs if pans aren’t greased thoroughly or the dough over-proofs and sticks.
How to avoid:
- Grease pans generously with butter, oil, or non-stick spray.
- Use parchment paper for extra insurance if desired.
Uneven Browning
If your loaves brown unevenly, the oven may have hot spots, or the loaves may be too close to each other.
How to avoid:
- Place pans with space between them for air circulation.
- Rotate pans halfway through baking.
- Check that your oven temperature is accurate with an oven thermometer.
Bread Collapsing After Baking
This often stems from over-proofing, weak gluten structure, or under-baking.
How to avoid:
- Ensure the dough isn’t over-proofed.
- Confirm proper gluten development during mixing.
- Check the internal temperature — loaves should reach 190°F (88°C).
Side Dish Recommendations
Pairing your soft sourdough sandwich bread with the right side dishes makes it the centerpiece of a complete meal. Here are eight excellent options:
- Creamy Tomato Soup
The tangy sweetness of tomato soup complements the subtle sourdough flavor, especially with grilled cheese. - Classic Potato Salad
The creamy texture and tangy dressing balance the bread’s soft crumb, making it a great side for picnic sandwiches. - Fresh Garden Salad
Light greens with vinaigrette contrast beautifully with the bread’s softness, creating a balanced meal. - Avocado and Egg Salad
This creamy, protein-packed salad pairs well with lightly toasted slices. - Lentil and Vegetable Soup
A hearty, rustic soup pairs well with slices for dipping. - Roasted Chicken
Use slices for sandwiches or serve with herb-buttered bread for a comforting meal. - Butternut Squash Soup
The earthy sweetness of squash soup enhances the mild sourdough flavor. - Smoked Salmon Spread
Spread a creamy salmon mixture over slices for an elegant appetizer or light lunch.
Recipe Tips and Tricks for Success
Achieving perfect soft sourdough sandwich bread is a balance between understanding your ingredients, managing fermentation, and mastering shaping techniques. Here are some expert tips to help you consistently produce soft, fluffy loaves.
- Feed Your Starter Regularly
A well-fed, active starter is crucial for reliable fermentation. Feed it with equal parts flour and water and allow it to double before using. - Control Your Hydration
Slightly sticky dough is ideal, but too wet and it becomes difficult to shape. Flour absorption varies, so always add flour gradually and stop once the dough clears the sides of the mixing bowl. - Monitor Room Temperature
Sourdough fermentation is heavily influenced by temperature. In cooler kitchens, use warm liquids and allow for longer rise times. In warmer environments, shorten proofing to prevent over-fermentation. - Test Gluten Development
With enriched dough, proper gluten formation is essential for a soft but structured crumb. Knead until the dough passes the windowpane test, stretching without tearing. - Adapt to Your Schedule
The recipe allows flexibility, letting you refrigerate the dough after the first rise if needed. Cold fermentation can enhance flavor without negatively impacting texture. - Use Quality Ingredients
Opt for high-quality flour, organic milk, and fresh butter for superior taste and structure.
Storage and Reheating Instructions
Storing at Room Temperature
- Store fully cooled loaves in a plastic bag or airtight container.
- Keep in a cool, dry spot for up to 5 days.
- Slice only when needed to preserve moisture.
Refrigerating
- If your kitchen is particularly warm, store the bread in an airtight container in the refrigerator.
- Note that refrigeration can dry out bread faster, so only refrigerate if absolutely necessary.
Freezing
- To freeze, slice the bread and store it in a freezer-safe bag with parchment between slices.
- Alternatively, freeze whole loaves tightly wrapped in plastic wrap and placed in a freezer bag.
- Bread stays fresh in the freezer for up to 3 months.
Reheating
- To refresh frozen slices, toast them directly from frozen.
- For whole loaves, let them thaw at room temperature, then warm in a 325°F oven for 5-7 minutes if desired.
- A light mist of water over the crust before reheating can help soften the exterior.
Frequently Asked Questions
How do you make sourdough sandwich bread soft?
To achieve softness, enrich the dough with milk, butter, and a touch of sweetener. Proper gluten development and careful proofing also contribute to a tender texture.
Can you make sourdough sandwich bread without a starter?
This recipe relies on an active sourdough starter for leavening and flavor. While you could create a yeasted version, it would lack the complex sourdough taste.
What is the difference between sourdough sandwich bread and artisan sourdough?
Artisan sourdough typically has a thicker crust and more open crumb, while sandwich bread is softer, enriched, and designed for easy slicing.
How long does sourdough sandwich bread stay fresh?
At room temperature, it stays fresh for up to 5 days. For longer storage, freeze slices and reheat as needed.
What makes sourdough sandwich bread different from regular sandwich bread?
Sourdough sandwich bread uses a natural starter for leavening, resulting in a more complex flavor and longer shelf life compared to yeasted sandwich loaves.
Can you make soft sourdough bread with whole wheat flour?
Yes, but whole wheat flour absorbs more liquid and produces a denser crumb. To maintain softness, substitute only a portion (up to 30%) of the white flour with whole wheat.
What is the best flour for soft sourdough sandwich bread?
A combination of all-purpose and bread flour works well, providing both softness and structure.
How do you know when sourdough bread is fully proofed?
Use the finger poke test — press gently into the dough. If the indentation springs back slowly, the dough is ready. If it springs back quickly, it needs more time.
Can you add seeds or grains to sourdough sandwich bread?
Yes, you can mix seeds directly into the dough or sprinkle them on top before baking for added texture and flavor.
How do you get a soft crust on sourdough sandwich bread?
Brushing the loaves with melted butter immediately after baking helps soften the crust. Using milk in the dough also contributes to a tender exterior.
Conclusion
Soft sourdough sandwich bread brings together the best qualities of traditional sourdough and classic sandwich loaves. With its tender crumb, mild tang, and flexible uses, it fits seamlessly into any meal, from morning toast to hearty sandwiches. This recipe makes mastering soft sourdough easy for both beginners and seasoned bakers, with step-by-step guidance and customizable options to fit your preferences.
Baking your own sandwich bread not only ensures the freshest flavor but also gives you full control over the ingredients, allowing you to create loaves tailored to your tastes. Whether you are drawn to the gentle sourdough flavor, the soft texture, or the simple joy of baking, this soft sourdough sandwich bread is a must-try for any home baker. Experiment with different flours, toppings, and fillings to make this bread uniquely yours.
For those looking to expand their sourdough repertoire, this soft loaf is the perfect starting point before branching into rustic loaves, rolls, or even sourdough desserts. Embrace the process and enjoy the satisfaction of freshly baked, homemade bread straight from your kitchen.
Soft Sourdough Sandwich Bread
Ingredients
For the Pre-ferment:
- 2 cups active sourdough starter
- 2 cups water milk, or buttermilk (warm if your house is cool)
- 3 cups all-purpose or bread flour
For the Dough:
- ¼ cup fat butter, oil, melted coconut oil, or beef tallow; warm if the house is cool
- ½ cup sweetener honey or sugar
- 4 teaspoons salt
- 3 cups milk or buttermilk any kind; warm if the house is cool
- 9 –11 cups all-purpose or bread flour
Instructions
Feed the Sourdough Starter
- Combine no more than ½ cup of starter with 2 cups flour and about 1⅓ cups warm water to feed it.
- Let the starter sit at room temperature until it becomes active and doubles in size.
Prepare the Pre-ferment
- In the bowl of a stand mixer, combine 2 cups milk or buttermilk, 2 cups active sourdough starter, and 3 cups flour.
- Mix on low speed with the dough hook for about 1 minute. Cover and let ferment overnight at room temperature.
Mix the Dough
- The next morning, add the fat, sweetener, salt, and milk to the pre-ferment. Mix on low speed until partially combined.
- Add 5 cups of flour and mix on medium speed for 5–10 minutes to develop the gluten.
- Gradually add 4–6 more cups of flour, until the dough pulls away from the sides of the bowl and is only slightly sticky.
- Continue mixing for another 2–3 minutes.
First Rise
- Transfer the dough to a large oiled mixing bowl. Cover with a towel or plastic wrap and let it rise in a warm spot for 2–3 hours, or until doubled in size. (In colder temperatures, this may take longer.)
Shape the Loaves
- Punch down the risen dough and transfer it to a lightly floured surface.
- Divide the dough into 4 equal pieces. Flatten each into a rectangle, then fold the corners inward to form a triangle.
- Roll the dough away from you to shape into a loaf, tucking the edges under as needed.
- Place the loaves into greased loaf pans.
Second Rise
- Cover and let the loaves rise until they are just above the edges of the pans, about 2–3 hours. Keep an eye on them to prevent over-proofing.
Bake
- Preheat the oven to 375°F (190°C).
- Using a bread lame or razor blade, slash the tops of the loaves to allow for expansion.
- Bake for 30 minutes, or until the internal temperature reaches 190°F (88°C).
Cool and Enjoy
- Remove the loaves from the pans and place them on a cooling rack.
- Brush the tops with butter to keep the crust soft.
- Let the bread cool completely before slicing.
- Serve with butter and jam or use for sandwiches, toast, and more.
Storage & Freezing
- Room Temperature: Store in a plastic bag on the counter for up to 1 week.
- Refrigeration: Store in an airtight container in the fridge for up to 1 week.
- Freezing: Freeze whole loaves or slices for up to 3 months. Slice before freezing for convenience.