Nothing beats the taste and texture of freshly baked sourdough bread. But traditional sourdough requires overnight fermentation, sometimes taking more than 24 hours from start to finish. This same-day sourdough bread recipe offers a faster alternative, giving you a crusty artisan loaf with a soft, tangy interior in just a few hours.
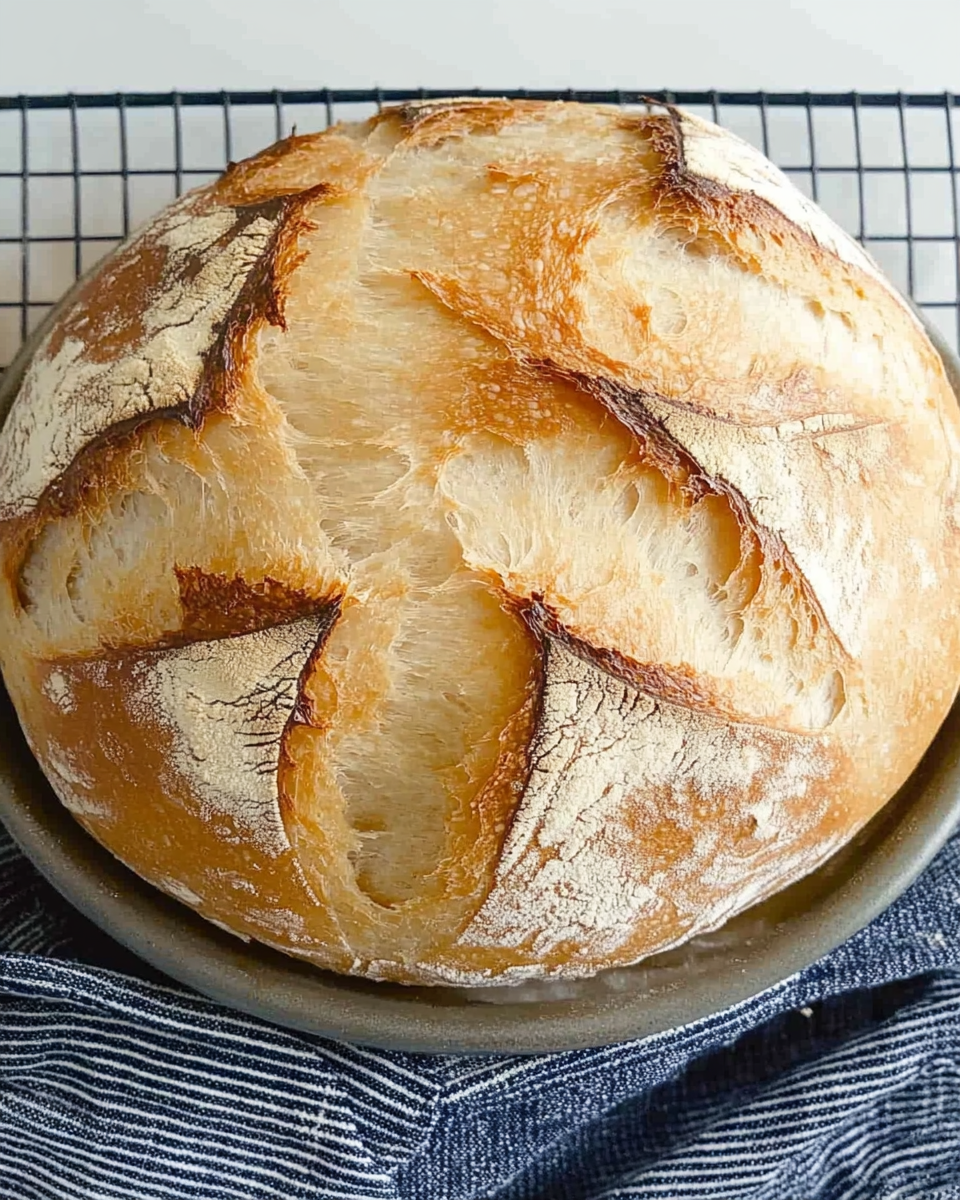
By following this method, you can enjoy homemade sourdough without waiting overnight. It’s perfect for those who want fresh bread without long fermentation times while still maintaining great flavor and texture.
Why You’ll Love This Recipe
- No Overnight Fermentation – Get fresh sourdough the same day you start.
- Crispy Crust & Soft Interior – Achieves the classic artisan texture.
- Simple Ingredients – No commercial yeast, just flour, water, salt, and sourdough starter.
- Perfect for Beginners – No need for long bulk fermentation or complicated techniques.
Preparation Phase & Tools to Use
Before starting, gather all ingredients and tools. Ensuring everything is ready will make the process smoother and more efficient.
Essential Tools and Their Importance
- Dutch oven – Traps steam, which helps create a crispy crust.
- Bread lame or sharp knife – Used for scoring the dough before baking.
- Mixing bowl – Large enough for easy mixing and kneading.
- Tea towel – Helps prevent sticking during proofing.
- Parchment paper – Makes transferring the dough easier.
Preparation Tips for Success
- Use an active sourdough starter – It should be bubbly and double in size within a few hours of feeding.
- Ensure proper hydration – This recipe has a balanced hydration level for an easy-to-handle dough.
- Monitor room temperature – Warmer environments speed up fermentation, while cooler temperatures slow it down.
- Don’t skip stretch and folds – They develop gluten and improve dough structure.
Ingredients
- 410g all-purpose flour
- 290g water
- 160g sourdough starter (active and bubbly)
- 8g salt
Step-by-Step Directions
1. Mix Ingredients
- In a large bowl, combine water, sourdough starter, and salt. Stir until well mixed.
- Add flour and mix until a shaggy dough forms.
- Use your hands to incorporate all the flour completely.
- Cover the bowl with plastic wrap and let the dough rest for 30 minutes.
2. Stretch and Folds
- After resting, perform the first stretch and fold:
- Grab one edge of the dough, stretch it upward, and fold it under.
- Rotate the bowl 90 degrees and repeat. Complete four folds in total.
- Cover and let rest for 20 minutes, then repeat the stretch and folds.
- Perform a total of four sets over the next hour, allowing the dough to rest between each set.
3. Bulk Fermentation
- Cover the dough and let it rise for 3 to 4 hours at room temperature.
- It should double in size and appear light and airy.
4. Shape the Dough
- Transfer the dough to a lightly floured surface.
- Pull opposite ends together and pinch them at the top.
- Repeat with the other ends to form a tight, smooth ball.
5. Final Proofing
- Line a bowl or banneton with a lightly floured tea towel.
- Place the dough inside, seam-side up.
- Cover and let proof for 2 hours at room temperature.
6. Preheat the Oven
- During the final hour of proofing, preheat your oven to 460°F (238°C).
- Place the Dutch oven inside to heat up.
7. Score and Bake
- Flip the dough onto parchment paper, so the floured bottom is now the top.
- Score the surface with a bread lame or sharp knife.
- Carefully place the dough into the preheated Dutch oven.
- Add a small splash of water to create steam.
- Cover and bake for 30 minutes at 460°F (238°C).
- Remove the lid, lower the heat to 440°F (227°C), and bake for another 10 minutes until golden brown.
8. Cooling
- Transfer the baked bread to a cooling rack.
- Cover it with a damp towel and let it cool for at least one hour before slicing.
Serving Suggestions
1. Classic Butter and Honey
A warm slice of sourdough with a spread of butter and a drizzle of honey creates a simple yet delicious combination. The slight tang of the bread balances the sweetness, making it perfect for breakfast or a snack.
2. Avocado and Poached Egg
For a hearty and nutritious option, top toasted sourdough with mashed avocado and a poached egg. A sprinkle of salt, black pepper, and red pepper flakes adds extra flavor.
3. Garlic Butter and Herbs
Brushing slices of sourdough with garlic butter and toasting them in the oven creates a crispy, flavorful side dish. Fresh parsley, thyme, or oregano can be added for more depth.
4. Dipping in Olive Oil and Balsamic Vinegar
A high-quality olive oil with a splash of balsamic vinegar makes a perfect dip for sourdough. Adding a pinch of sea salt and freshly ground black pepper enhances the flavors.
5. Soup and Stew Companion
Sourdough pairs well with hearty soups and stews. Its firm texture allows it to soak up broth without falling apart, making it ideal for dishes like tomato soup, minestrone, or beef stew.
6. Cheese and Charcuterie Board
Slices of sourdough work well with cheeses, cured meats, nuts, and fruits. A variety of textures and flavors can be combined for an elegant appetizer or light meal.
7. Bruschetta Topping
Toasted sourdough serves as a great base for bruschetta. Fresh tomatoes, basil, garlic, and olive oil create a refreshing topping that complements the crispness of the bread.
8. French Toast Alternative
Leftover sourdough makes excellent French toast. Its firm structure holds up well to soaking, resulting in a rich and satisfying breakfast dish.
Common Mistakes to Avoid & How to Perfect the Recipe
Even with a quick sourdough method, some common mistakes can affect the final loaf. Here’s how to avoid them and achieve the best results.
1. Using an Inactive Starter
A weak or inactive sourdough starter will not provide enough rise. Ensure your starter is well-fed and doubles in size within a few hours before using it.
2. Underproofing the Dough
If the dough has not risen enough, the bread will be dense. The dough should nearly double in size during bulk fermentation. Use the poke test—gently press the dough; if it springs back slowly, it is ready to bake.
3. Overproofing the Dough
Letting the dough rise too long can weaken its structure, causing it to collapse when baked. Stick to the recommended proofing times, especially in warm environments.
4. Skipping Stretch and Folds
Stretching and folding help develop gluten, giving the bread structure. Skipping this step can result in a dense or flat loaf.
5. Not Preheating the Dutch Oven
A hot baking environment helps with oven spring. If the Dutch oven is not preheated, the bread may not rise properly in the oven.
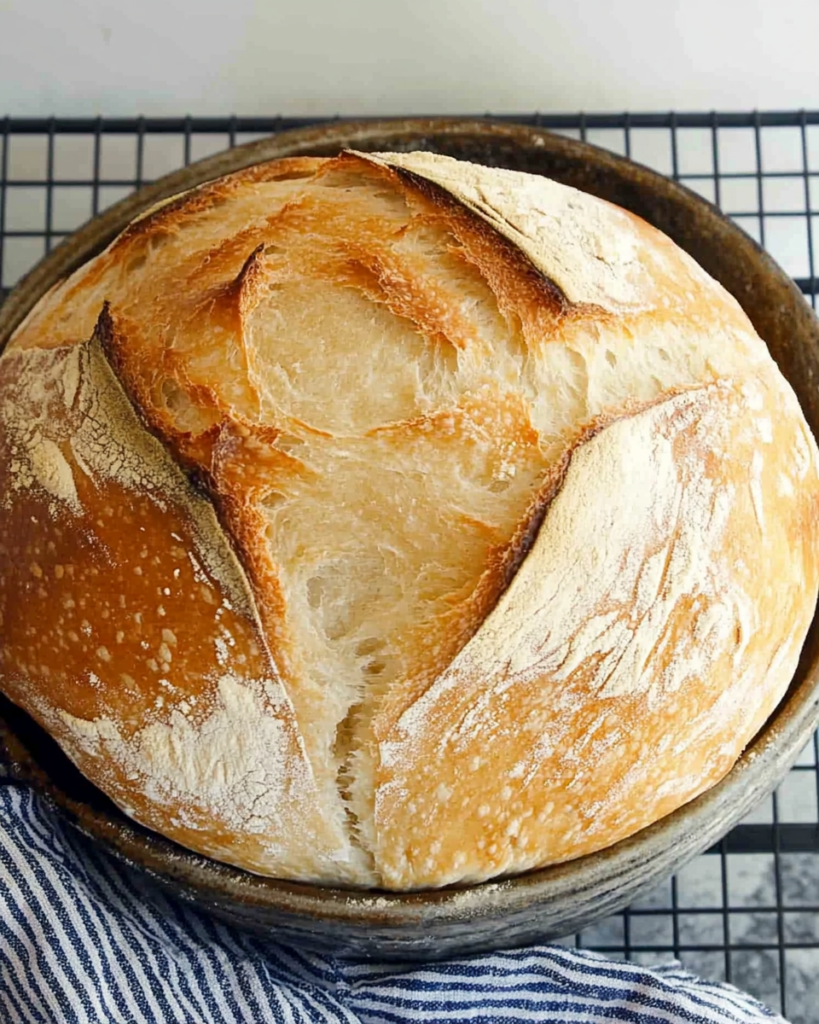
6. Scoring Too Deep or Not at All
Scoring allows the bread to expand properly during baking. If cuts are too deep, the dough may collapse; if not deep enough, the bread may crack unpredictably.
7. Slicing the Bread Too Soon
Cutting into the bread immediately after baking releases steam, making the crumb gummy. Let the loaf cool for at least one hour for the best texture.
8. Storing the Bread Incorrectly
To maintain freshness, store sourdough in a paper bag at room temperature for up to two days. For longer storage, freeze slices and reheat as needed. Avoid storing in plastic bags, as they trap moisture and make the crust soft.
Side Dish Recommendations
Pairing sourdough with complementary side dishes can elevate a meal. Here are some options:
1. Roasted Tomato Soup
The rich, tangy flavors of roasted tomato soup enhance the mild sourness of the bread. A drizzle of cream or a sprinkle of fresh basil adds extra depth.
2. Beef Stew
A hearty beef stew with tender meat and vegetables pairs well with sourdough, which can be used to soak up the flavorful broth.
3. Caprese Salad
Fresh mozzarella, tomatoes, basil, and balsamic glaze contrast beautifully with the crisp texture of sourdough. Serve it with toasted slices for added crunch.
4. Scrambled Eggs with Herbs
Soft scrambled eggs with chives, parsley, or dill make a satisfying breakfast when served alongside sourdough toast.
5. Hummus and Roasted Vegetables
Sourdough pairs well with hummus and roasted vegetables like bell peppers, zucchini, and eggplant. The creamy hummus complements the crusty bread.
6. Smoked Salmon and Cream Cheese
A slice of sourdough topped with cream cheese, smoked salmon, and fresh dill creates a balanced mix of flavors and textures.
7. Spinach and Feta Omelet
A spinach and feta omelet, served with a side of sourdough toast, provides a filling and nutritious breakfast or brunch option.
8. Roasted Garlic and White Bean Dip
A creamy roasted garlic and white bean dip offers a savory, protein-rich accompaniment for toasted sourdough slices.
Recipe Tips for the Best Sourdough Bread
1. Use a Strong Starter
The most important element of sourdough bread is an active and bubbly starter. Feed your starter 4 to 6 hours before baking, ensuring it doubles in size. If it takes longer than 8 hours to rise, it may not be strong enough to leaven the dough properly.
2. Adjust Fermentation Based on Room Temperature
Fermentation happens faster in a warm kitchen and slower in a cooler environment. If your kitchen is cold, place the dough in a turned-off oven with the light on to maintain a stable proofing temperature.
3. Don’t Skip the Stretch and Folds
These steps develop gluten, helping the dough hold its shape. If skipped, the bread may turn out flat and dense.
4. Use a Well-Heated Dutch Oven
A preheated Dutch oven ensures a quick oven spring and a crispy crust. Placing cold dough in a cool pot can result in a dense loaf with poor rise.
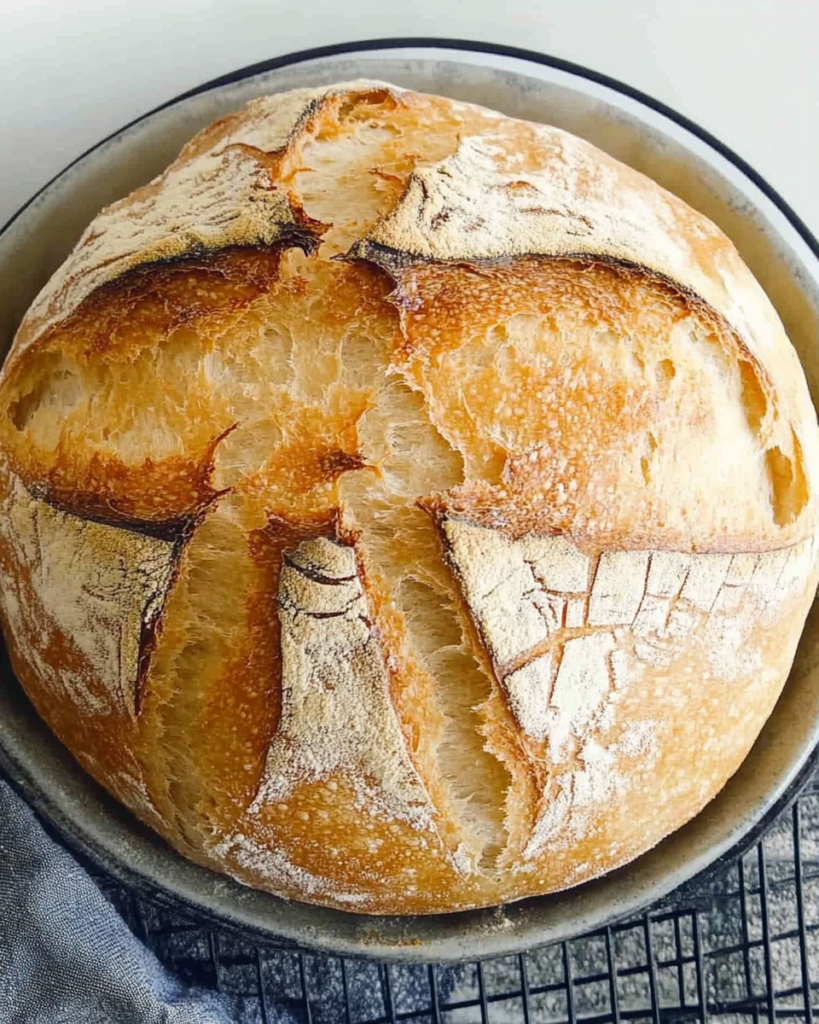
5. Score the Dough with Confidence
Shallow or hesitant scoring can prevent the bread from expanding properly. A deep, clean cut allows steam to escape and helps create an even rise.
6. Cool the Bread Completely
Cutting into hot sourdough will make the crumb gummy. Let the loaf rest for at least an hour before slicing to allow the crumb structure to set properly.
Storage and Reheating Instructions
Storing at Room Temperature
- Keep sourdough in a paper bag or wrapped in a clean kitchen towel.
- Store at room temperature for up to two days.
- Avoid plastic bags, as they trap moisture and soften the crust.
Freezing for Long-Term Storage
- Slice the bread before freezing for easier reheating.
- Wrap slices tightly in plastic wrap or place in an airtight container.
- Store in the freezer for up to three months.
Reheating Instructions
- For a whole loaf: Preheat the oven to 350°F (175°C) and bake for 10 to 15 minutes.
- For slices: Toast in a toaster or heat in a dry pan over medium heat for a crisp texture.
Frequently Asked Questions (FAQs)
1. Can I Make This Bread Without a Dutch Oven?
Yes. If you don’t have a Dutch oven, bake the bread on a preheated baking stone. To create steam, place a tray with hot water on the lower oven rack.
2. Why Is My Bread Too Dense?
A dense loaf is often due to underproofing. Ensure the dough has doubled in size before shaping. Also, make sure your sourdough starter is active and strong.
3. How Can I Make the Crust Extra Crispy?
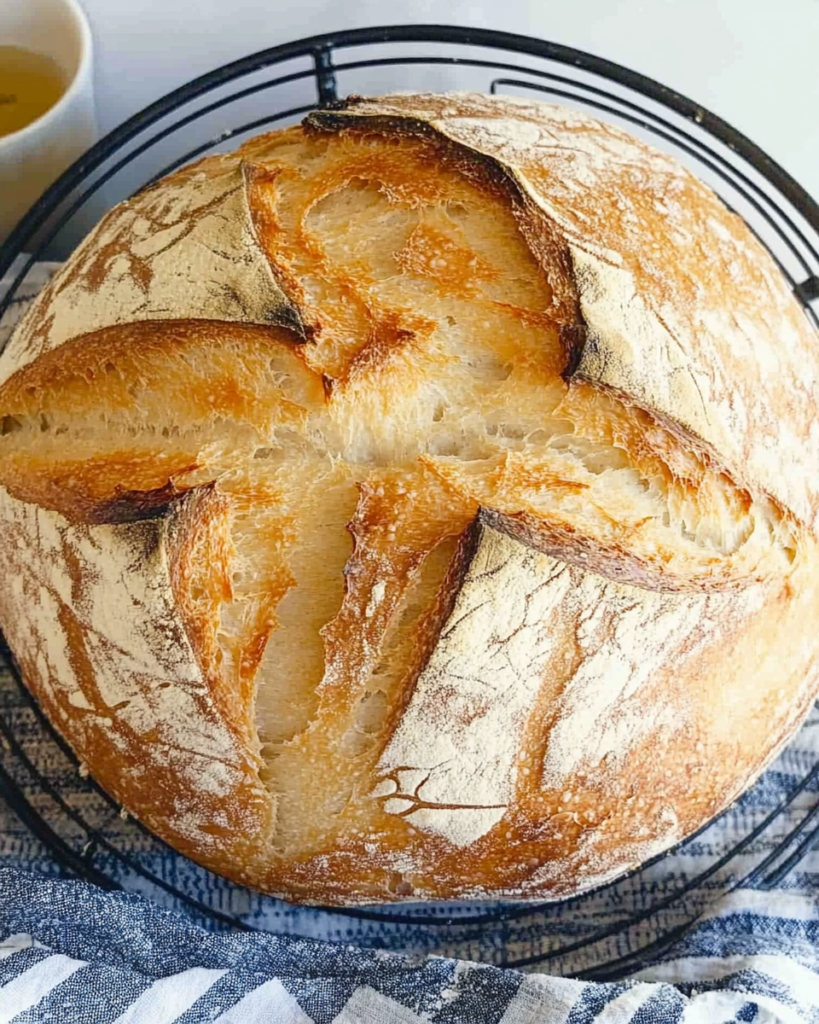
Baking with steam in the first 30 minutes helps create a crispy crust. If needed, extend the uncovered baking time by 5 minutes to deepen the color and texture.
4. Why Didn’t My Bread Rise in the Oven?
If the bread didn’t expand properly, it could be due to weak gluten development, overproofing, or not preheating the Dutch oven. Stretch and folds help build gluten strength, and proper proofing times ensure the right balance for oven spring.
5. Can I Add Flavors or Mix-Ins?
Yes. Herbs, roasted garlic, seeds, or dried fruit can be added during the initial mixing phase. Avoid adding too much moisture, as it can affect the dough’s hydration balance.
6. How Do I Know If My Bread Is Fully Baked?
Tap the bottom of the loaf—if it sounds hollow, the bread is done. Alternatively, check the internal temperature; it should be 205–210°F (96–98°C).
7. What’s the Best Way to Slice Sourdough?
Use a serrated bread knife to avoid crushing the loaf. For the cleanest cuts, slice when the bread is completely cool.
8. Can I Use Whole Wheat Flour Instead of All-Purpose Flour?
Yes, but whole wheat flour absorbs more water, so you may need to adjust hydration. Start by replacing 25–50% of the all-purpose flour with whole wheat and increase water slightly if needed.
Conclusion
This same-day sourdough bread method provides a quicker way to enjoy freshly baked sourdough without the long fermentation process. By following the steps carefully—using a strong starter, handling the dough correctly, and ensuring proper proofing—you can achieve an artisan-quality loaf in a single day.
From breakfast toast to dipping in soups and pairing with cheese boards, this bread is both versatile and delicious. Proper storage and reheating ensure that your loaf stays fresh, making it easy to enjoy homemade sourdough any time.
If you’re looking for a faster sourdough method without sacrificing texture or flavor, this recipe is the perfect solution. Try it today and enjoy a freshly baked loaf with a golden, crispy crust and soft, airy crumb—all in just a few hours.
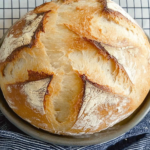
Speedy Same-Day Sourdough Bread
Ingredients
- 410 grams all-purpose flour
- 290 grams water
- 160 grams sourdough starter
- 8 grams salt
- Equipment
- 1 Dutch oven
- 1 bread lame or sharp knife
Instructions
Mix Ingredients:
- In a large bowl, combine water, sourdough starter, and salt. Stir well to distribute the starter and salt evenly.
- Add the flour and mix until combined.
- Finish mixing with your hands to ensure all the flour is incorporated.
- Cover with plastic wrap, foil, or a shower cap and let rest for 30 minutes.
Stretch and Folds:
- After 30 minutes, perform the first set of stretch and folds:
- Grab the edge of the dough, stretch it upward, and fold it under the opposite side.
- Rotate the bowl 90° and repeat, completing 4 folds in total.
- Cover and let the dough rest for 20 minutes, then repeat.
- Perform 4 total sets of stretch and folds over the next hour, keeping the dough covered between sets to prevent drying out.
Bulk Fermentation:
- Once stretch and folds are complete, cover the dough again and let it rise for 3–4 hours at room temperature, or until nearly doubled in size.
Shape the Dough:
- Transfer the dough to a lightly floured surface.
- Shape it by pulling opposite ends together and pinching them at the top. Repeat with the other two ends to form a tight, smooth ball.
Final Proof:
- Line a bread or banneton basket with a lightly floured tea towel.
- Place the dough ball into the basket, seam-side up.
- Cover and let rise for 2 hours at room temperature.
Preheat the Oven:
- During the final hour of proofing, preheat your oven to 460°F (238°C) with the Dutch oven inside to heat up.
Score and Bake:
- Transfer the dough to a piece of parchment paper, flipping it so the floured bottom is now the top.
- Score the dough with a bread lame or sharp knife, creating a crisscross pattern.
- Carefully place the dough (with the parchment paper) into the preheated Dutch oven.
- Add a splash of water between the parchment and the Dutch oven to create steam.
- Cover and bake for 30 minutes at 460°F (238°C).
- Remove the lid and bake for 10 more minutes at 440°F (227°C) until golden brown.
Cool:
- Transfer the bread to a cooling rack and cover with a damp kitchen towel.
- Let cool for at least 1 hour before slicing.