This sourdough discard sandwich bread is soft, fluffy, and perfect for everyday use. If you love homemade bread but don’t want to wait for a long fermentation, this recipe is a great solution. It combines the mild tang of sourdough discard with the convenience of commercial yeast, making it quick and reliable.
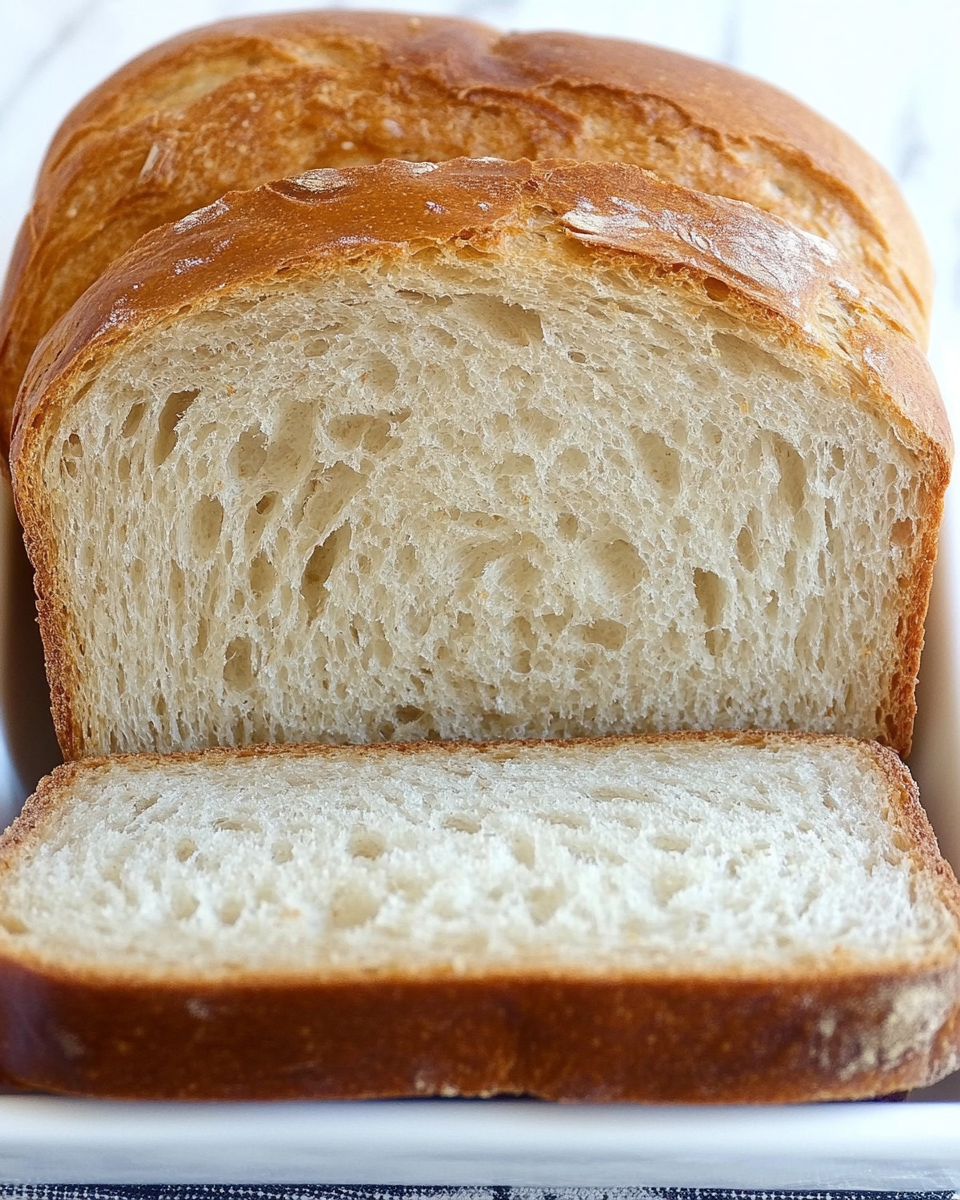
Unlike traditional sourdough bread, this version requires only a few hours from start to finish. It uses simple ingredients, has a forgiving dough, and bakes into a tender loaf with a light texture. Whether you need sandwich bread, toast, or a side for soups and salads, this recipe delivers. Plus, it’s dairy-free and naturally sweetened with honey.
Why You’ll Love This Recipe
- Quick and Easy – No long fermentation; ready in about three hours.
- Soft and Fluffy – A light texture, perfect for sandwiches.
- Uses Sourdough Discard – A great way to reduce waste.
- Dairy-Free and Naturally Sweetened – Made with olive oil and honey.
- Beginner-Friendly – Simple steps and minimal hands-on time.
Preparation Phase & Tools to Use
Essential Tools and Equipment
- Mixing Bowl – For combining ingredients and kneading the dough.
- Stand Mixer with Dough Hook (Optional) – Helps with kneading.
- Measuring Scale & Cups – Precise measurements ensure the best texture.
- Loaf Pans (9×5-inch) – Shapes the dough into perfect sandwich loaves.
- Tea Towel or Plastic Wrap – Covers the dough while it rises.
- Oven Thermometer – Ensures the oven is at the correct temperature.
- Wire Rack – Cools the bread evenly after baking.
Preparation Tips
- Use Warm Water – About 100-110°F (37-43°C) to activate the yeast properly.
- Knead Thoroughly – The dough should pass the windowpane test.
- Check Room Temperature – Dough rises faster in a warm environment (above 80°F).
- Use Fresh Yeast – Expired yeast won’t activate and will result in dense bread.
Ingredients
- 180g (¾ cup) warm water
- 7g (2 ¼ tsp) active dry yeast
- 60g (¼ cup) honey (or maple syrup/sugar)
- 120g (1 cup) whole wheat flour (can substitute with bread flour)
- 343g (2 ½ cups) bread flour
- 180g (¾ cup) sourdough discard
- 10g (1 ½ tsp) salt
- 60g (¼ cup) olive oil (or another neutral oil)
Step-by-Step Directions
1. Activate the Yeast
- In a large mixing bowl, combine warm water, honey, and yeast.
- Let sit for 5 minutes until bubbly—this ensures the yeast is active.
2. Mix and Knead the Dough
- Add the remaining ingredients: flours, sourdough discard, salt, and olive oil.
- Knead for 15 minutes using a stand mixer with a dough hook or by hand.
- Check for the windowpane test: Stretch a small section of dough until thin enough to see light through. If it tears, knead for a few more minutes.
3. First Rise
- Shape the dough into a ball and place it in a greased bowl.
- Cover with a tea towel and let it rise in a warm place (40-60 minutes) until doubled in size.
4. Shape the Loaves
- Punch down the dough and place it on a lightly floured surface.
- Divide into two equal sections.
Shaping Options
- Method 1: Flatten into a rectangle, fold the top third down, fold the sides, and roll into a log.
- Method 2: Roll into a rectangle the length of the loaf pan, roll it up tightly, and pinch the seams.
- Place the shaped dough into greased 9×5-inch loaf pans, seam side down.
- Cover and let rise again (30 minutes – 1 hour) until the dough has risen above the pan’s edge.
5. Bake the Bread
- Preheat the oven to 350°F (175°C).
- Bake for 35-40 minutes until the internal temperature reaches 190°F (88°C).
- Remove from pans and cool on a wire rack.
- Brush the tops with oil for a softer crust.
Serving Suggestions
1. Classic Sandwiches
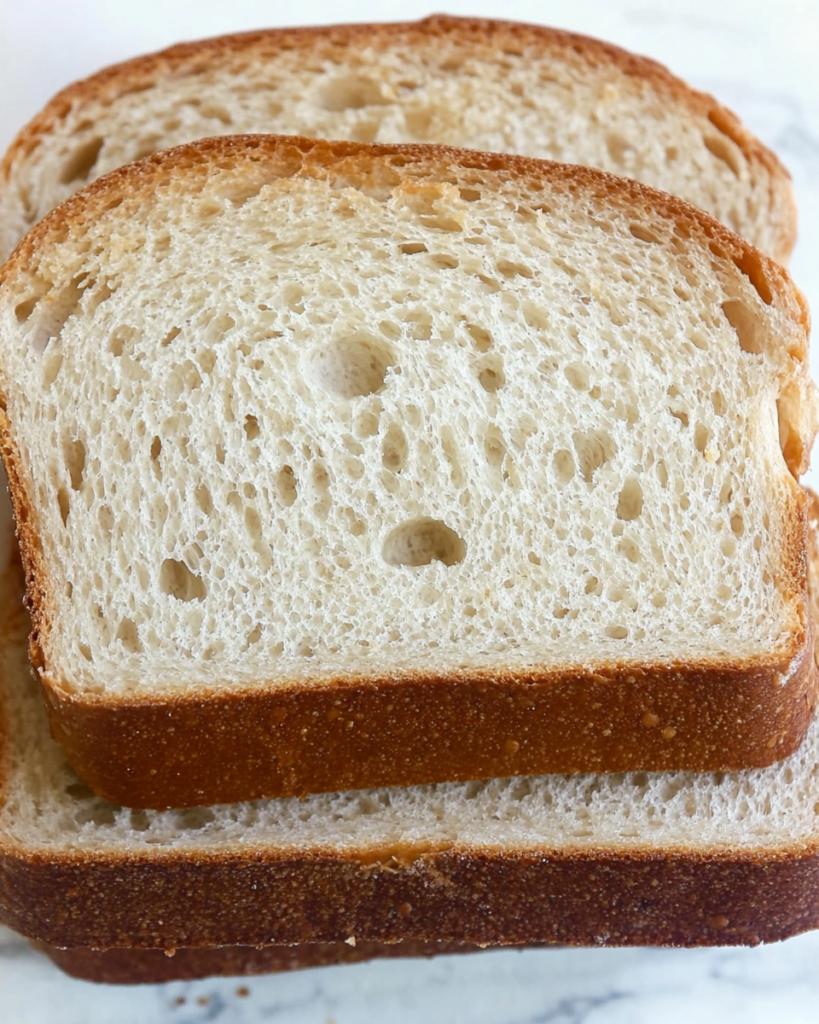
This bread has a soft yet sturdy texture, making it ideal for sandwiches. Use it for deli-style cold sandwiches, grilled cheese, or peanut butter and jelly. It holds up well without becoming too dense or crumbly.
2. Breakfast Toast
Slice and toast it for a crisp yet tender breakfast option. Top with butter, jam, honey, or cream cheese for a simple but delicious start to the day. For a more filling meal, add avocado, smoked salmon, or eggs.
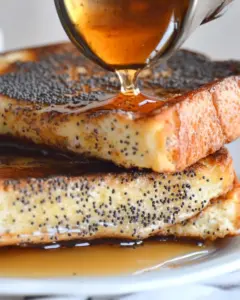
3. French Toast
Because this bread is slightly sweet and tender, it makes excellent French toast. Soak slices in a mixture of eggs, milk, and cinnamon, then cook until golden brown. Serve with maple syrup or fresh fruit.
4. Paninis and Toasted Sandwiches
The bread’s structure holds up well when pressed or grilled. Make a crispy panini with turkey and cheese, or a vegetable-packed grilled sandwich for a hearty meal.
5. Side for Soups and Stews
Serve thick slices alongside comforting soups like tomato soup, chicken noodle soup, or minestrone. The bread absorbs broth without falling apart, making it a great dipping option.
6. Cheese and Charcuterie Boards
Pair slices with cheeses, cured meats, olives, and spreads for a simple yet impressive appetizer. Toasted or fresh, it works well with mild and strong flavors.
7. Bread Crumbs and Croutons
If you have leftover slices, turn them into homemade bread crumbs or croutons. Simply toast or bake until crispy, then crumble for use in salads, casseroles, or coatings for fried foods.
8. Sweet Variations
Spread with nut butter and banana, or top with ricotta cheese and honey for a sweet but balanced snack. A dusting of cinnamon and sugar can also make it a great dessert-style treat.
Common Mistakes to Avoid & How to Perfect the Recipe
Even though this bread is straightforward to make, there are a few common pitfalls that can affect the texture and rise. Below are some mistakes and tips to ensure the best results.
1. Using Water That’s Too Hot or Too Cold
Yeast needs warm water to activate properly, but if the water is too hot, it can kill the yeast. Use water between 100-110°F (37-43°C) for best results. If the water is too cold, the dough will take longer to rise.
2. Not Kneading the Dough Enough
Proper kneading develops gluten, which gives the bread structure and softness. If the dough isn’t kneaded enough, the bread may be too dense. Knead for at least 15 minutes or until the dough passes the windowpane test—where a small stretched portion of dough becomes thin and translucent without tearing.
3. Skipping the Second Rise
Letting the shaped dough rise in the pan is just as important as the first rise. If you bake it too soon, the bread will be dense and may not have a good oven spring. Let it rise until it has doubled in size and extends slightly above the loaf pan.
4. Overproofing the Dough
If the dough rises too much, it may collapse in the oven. Overproofed dough feels weak and airy rather than slightly firm. To avoid this, check the dough after 30 minutes to 1 hour during the second rise. It should be slightly puffy but still hold its shape.
5. Using Too Much or Too Little Flour
Adding too much flour makes the bread dry and dense, while too little can make it sticky and difficult to shape. The best way to get consistent results is to use gram measurements instead of cups. If measuring by volume, spoon the flour into the measuring cup and level it off rather than scooping directly from the bag.
6. Not Preheating the Oven Properly
A properly preheated oven ensures even baking. If the temperature is too low, the bread may take longer to cook and develop a tough crust. If too high, the outside may brown before the inside is fully baked. Preheat to 350°F (175°C) and use an oven thermometer if needed.
7. Cutting the Bread Too Soon
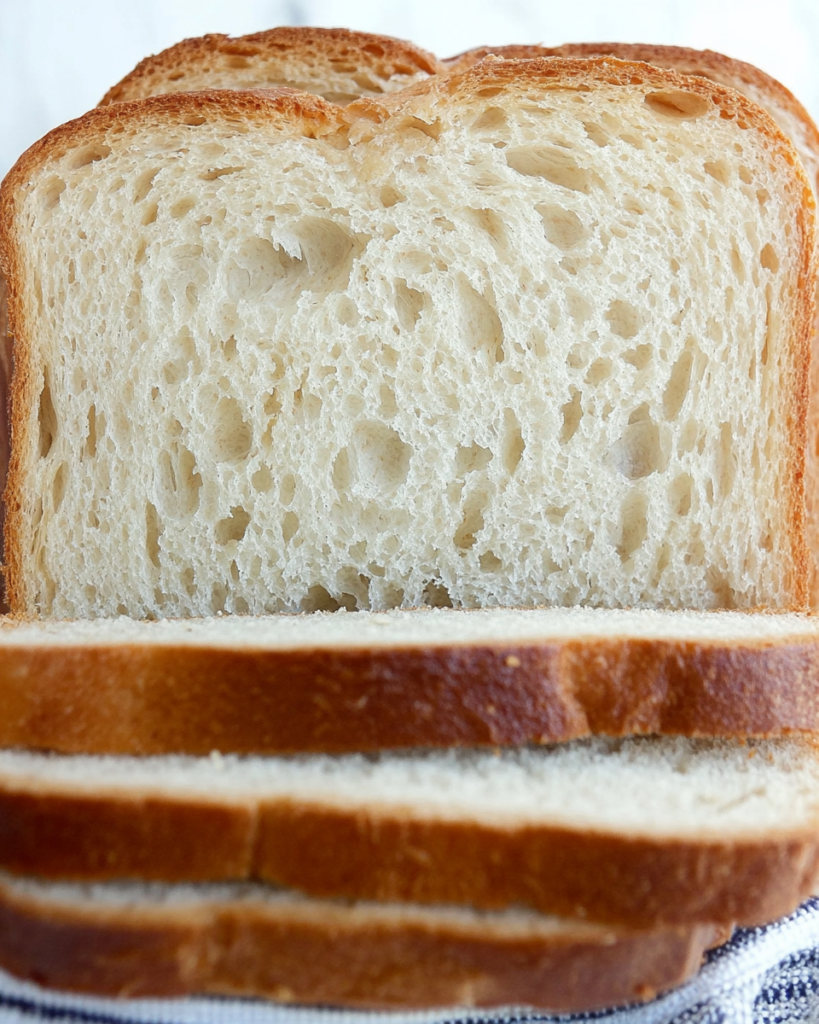
Freshly baked bread needs time to set before slicing. Cutting it too early lets out steam, making the crumb gummy instead of light and fluffy. Let the bread cool on a wire rack for at least 30 minutes before slicing.
8. Not Storing the Bread Correctly
To keep the bread fresh, store it in an airtight container at room temperature for 2-3 days. If you need to store it longer, wrap it tightly and freeze it for up to 3 months. Avoid refrigerating, as this can dry it out.
Recipe Tips for the Best Results
1. Use Fresh Yeast
Old or expired yeast may not activate properly, leading to dense bread. If unsure, test the yeast by dissolving it in warm water with a bit of honey. If it bubbles after a few minutes, it’s active and ready to use.
2. Adjust Flour Based on Dough Texture
Flour absorbs moisture differently depending on humidity and temperature. If the dough feels too sticky, add a little extra flour, one tablespoon at a time. If too dry, add a teaspoon of water or olive oil to soften it.
3. Let the Dough Rise in a Warm Spot
A warm environment helps the dough rise faster. If your kitchen is cool, place the dough in an oven with the light on or near a warm surface. Avoid placing it in direct sunlight, as uneven heat can affect fermentation.
4. Don’t Skip the Windowpane Test
To check if the dough has been kneaded enough, take a small piece and stretch it gently between your fingers. If it forms a thin, see-through layer without tearing, the gluten is well-developed, and the dough is ready for proofing.
5. Oil the Top for a Softer Crust
Brushing the top of the bread with olive oil after baking prevents the crust from becoming too hard. If you prefer a crispier crust, leave it as is or brush it with melted butter instead.
Storage Instructions
Room Temperature Storage
- Store the bread in an airtight container or bread bag for up to 3 days.
- Keep it in a cool, dry place away from direct sunlight.
- Avoid refrigerating, as this can dry out the bread faster.
Freezing the Bread
- Slice the bread before freezing to make thawing easier.
- Wrap individual slices or whole loaves in plastic wrap, followed by foil or a zip-top freezer bag.
- Freeze for up to 3 months.
Reheating Instructions
- To refresh a whole loaf: Wrap in foil and place in a 325°F oven for 10-15 minutes.
- For slices: Toast directly or microwave for 10-15 seconds to soften.
FAQs
1. Can I make this bread without yeast?
No, this recipe relies on commercial yeast for quick rising. If you want to make a fully wild-fermented sourdough bread, you’ll need a different recipe with a longer fermentation time.
2. Can I use only sourdough discard without yeast?
Using only discard will require an extended proofing time, usually 8-12 hours. You may also need to adjust hydration and flour ratios to achieve the right dough consistency.
3. What if I don’t have whole wheat flour?
You can substitute whole wheat flour with bread flour for a lighter, fluffier texture. The bread will still have great structure but will be slightly softer.
4. Can I use butter instead of olive oil?
Yes, melted butter can replace olive oil in a 1:1 ratio. This will give the bread a richer flavor but may slightly alter the texture.
5. Why is my bread too dense?
Several factors can cause dense bread:
- Not kneading enough – Proper gluten development is crucial.
- Skipping the second rise – The dough needs enough time to expand.
- Using expired yeast – Old yeast won’t create enough rise.
- Adding too much flour – The dough should be soft but not overly dry.
6. How do I know when the bread is done baking?
- The crust should be golden brown.
- The internal temperature should reach 190°F (88°C) when checked with a thermometer.
- Tapping the bottom of the loaf should produce a hollow sound.
7. Can I add seeds or mix-ins to this bread?
Yes, you can mix in chia seeds, flaxseeds, sunflower seeds, or herbs for added texture and flavor. Add them during the kneading stage to distribute evenly.
8. What’s the best way to slice this bread?
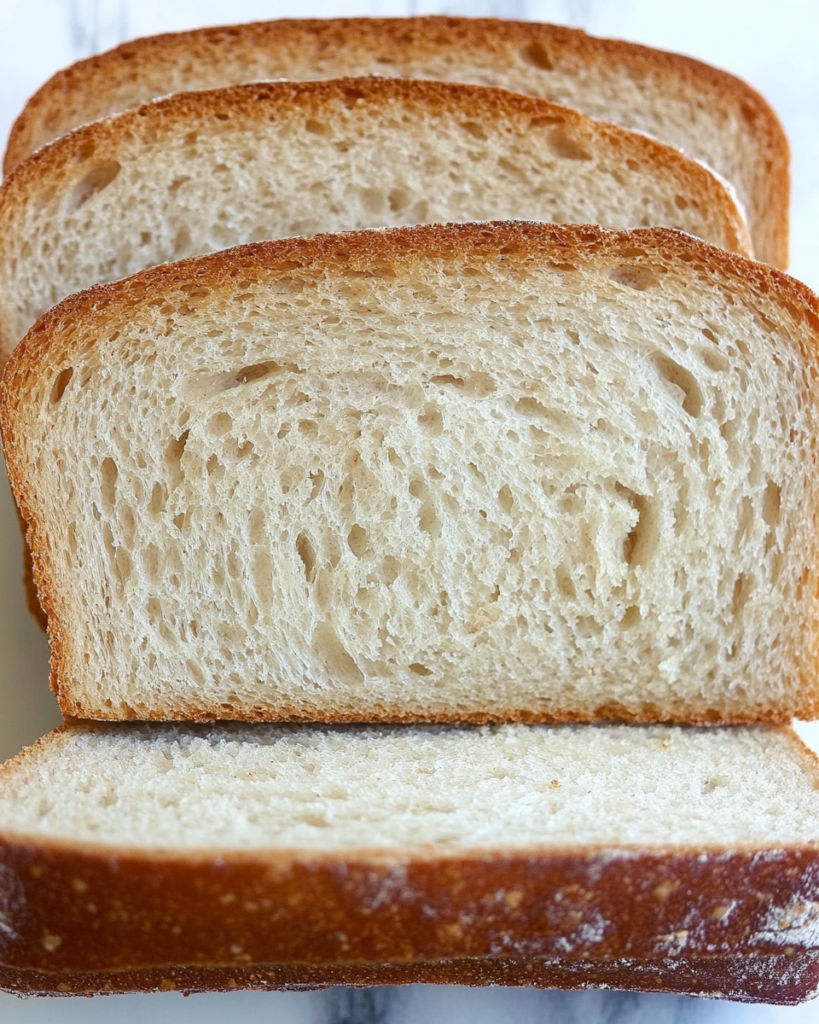
Let the bread cool completely before slicing to prevent it from becoming gummy. Use a serrated bread knife for clean, even slices.
Conclusion
This sourdough discard sandwich bread is a perfect way to use up extra sourdough starter while making a soft and flavorful loaf. Its quick rise time and simple ingredients make it accessible for all skill levels. Whether enjoyed fresh, toasted, or as part of a meal, this bread is a reliable staple that works for any occasion.
By following proper kneading, proofing, and baking techniques, you can achieve consistently great results. Store it correctly to keep it fresh, and experiment with different toppings and pairings to make the most of each loaf.
The Easiest Sourdough Discard Sandwich Bread
Ingredients
- 180 g ¾ cup warm water
- 7 g 2 ¼ tsp active dry yeast
- 60 g ¼ cup honey
- 120 g 1 cup whole wheat flour
- 343 g 2 ½ cups bread flour
- 180 g ¾ cup sourdough discard
- 10 g 1 ½ tsp salt
- 60 g ¼ cup olive oil
Instructions
Activate the Yeast:
- In a large mixing bowl or the bowl of a stand mixer, combine warm water, honey, and yeast.
- Let sit for 5 minutes until bubbly to activate the yeast.
Mix and Knead the Dough:
- Add the remaining ingredients and knead for 15 minutes using a stand mixer with a dough hook or by hand. The dough should be soft, pliable, and able to pass the windowpane test (see below).
- Windowpane test: Stretch a small section of dough until it is thin enough to see light through. If it tears, continue kneading for up to 20 minutes. Let the dough rest for 2-3 minutes before testing again.
First Rise:
- Shape the dough into a ball and place it in a large bowl. Cover with a tea towel and let it rise in a warm place (above 80°F) until doubled in size, about 40 minutes to 1 hour.
Shape the Loaves:
- Once risen, punch down the dough and place it on a lightly floured surface. Divide it into two equal sections.
- Shaping options:
- Method 1: Flatten the dough into a rectangle. Fold the top third down, then fold the sides to the center. Roll it into a log and pinch the seams.
- Method 2: Roll the dough into a rectangle the length of the loaf pan, roll it up tightly, and pinch the seams.
- Place the shaped loaves into two greased 9×5-inch loaf pans, seam side down. Let rise for 30 minutes to 1 hour, until the dough has doubled and risen above the pan’s edge.
Bake the Bread:
- Preheat the oven to 350°F (175°C).
- Bake for 35-40 minutes, until the internal temperature reaches 190°F (88°C).
- Remove from the pan and cool on a wire rack. Brush the tops with oil for a softer crust.
Notes
Ingredient swaps: Olive oil can be replaced with another type of oil. Honey can be substituted with maple syrup or sugar. Whole wheat flour can be replaced with all bread flour for a fully white bread.