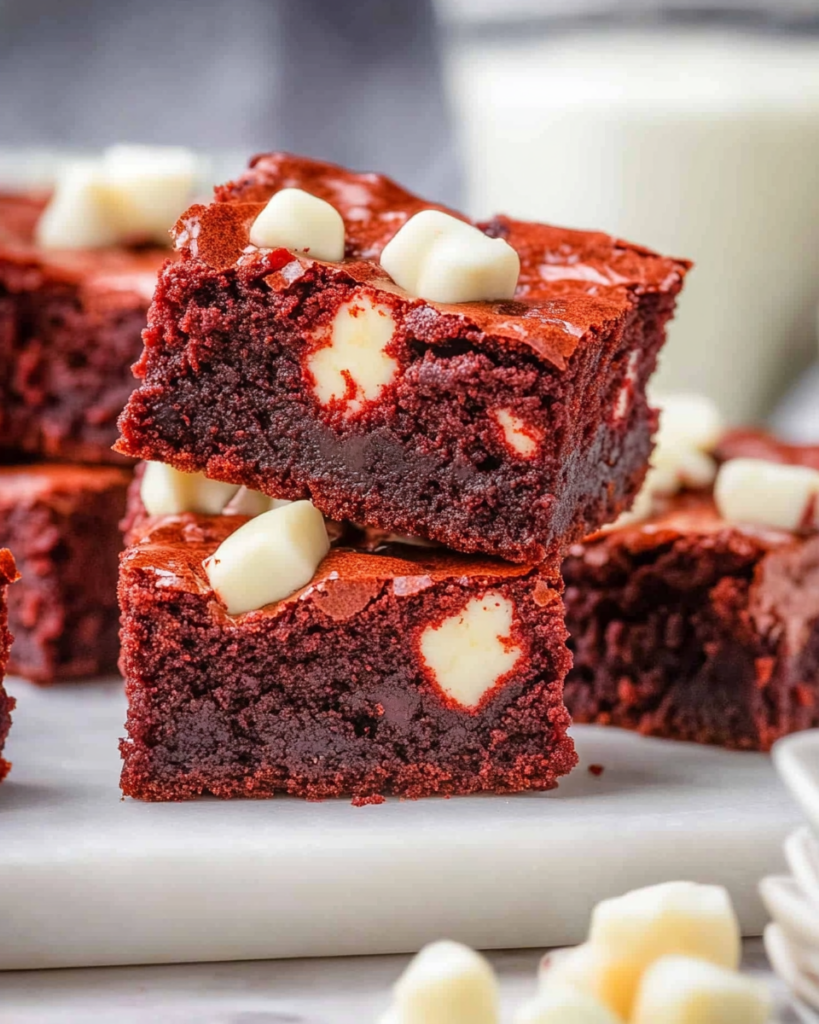
Red velvet brownies are the decadent, fudgy fusion of two dessert favorites: the richness of brownies and the charm of red velvet cake. Known for their striking red hue and velvety cocoa flavor, these treats are a standout on any dessert table. Whether you’re baking for Valentine’s Day, a birthday party, or just satisfying a sweet craving, these brownies deliver both flavor and flair.
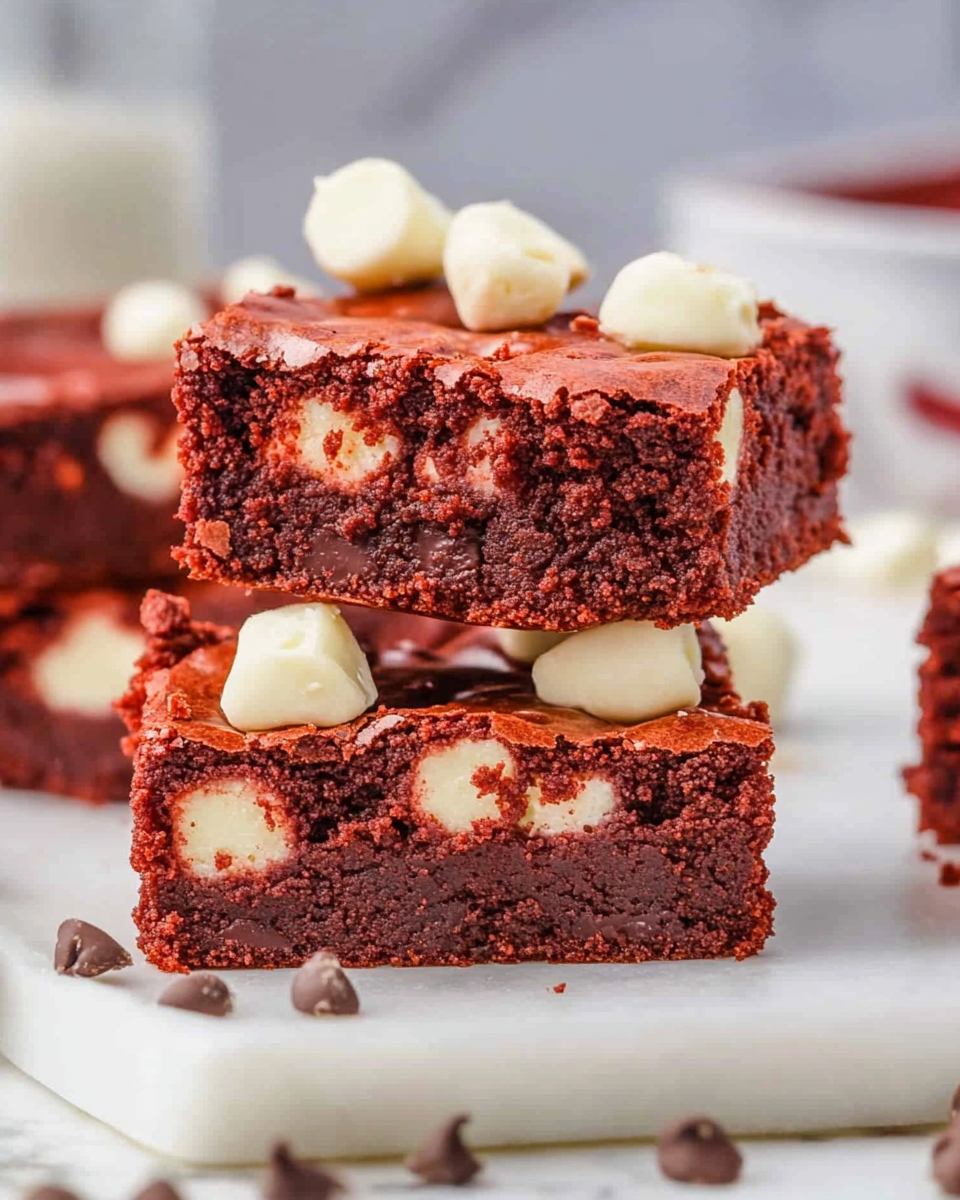
Unlike standard brownies, red velvet versions have a more delicate chocolate flavor enhanced by a splash of vinegar and a touch of vanilla. The vibrant color gives them an eye-catching finish, while white chocolate chips add creamy sweetness and contrast. They’re the perfect dessert when you want something both classic and unique.
Why You’ll Love This Recipe
- Fudgy and moist texture with a subtle cocoa kick
- Easy to make with simple pantry staples
- Aesthetic appeal thanks to the bold red color
- Great for holidays, parties, and edible gifts
- White chocolate chips add sweet bursts of flavor
What Makes These Brownies Stand Out
What sets these red velvet brownies apart is their combination of texture and flavor. They’re slightly tangy, thanks to the vinegar, but sweetened with sugar and rich cocoa. The red color is more than visual appeal—it’s a key part of the red velvet experience. The addition of white chocolate chips creates a flavor contrast that makes every bite more indulgent.
Preparation Phase & Kitchen Setup
Baking these brownies is simple, but a little organization goes a long way. Set up your baking station in advance with pre-measured ingredients and essential tools. Use the mise en place method—everything in its place—for smoother execution.
Before you start, line your baking pan with parchment paper. This not only prevents sticking but also ensures clean edges when slicing.
Essential Tools & Equipment
To make the best red velvet brownies, gather the following tools:
- 9×9-inch baking pan
- Mixing bowls
- Whisk or silicone spatula
- Measuring cups and spoons
- Parchment paper
- Nonstick cooking spray
Why These Tools Matter
- The 9×9 pan ensures the right thickness and even baking.
- Parchment paper helps lift the brownies out easily.
- Accurate measuring is critical for balanced texture and taste.
- A whisk or spatula ensures ingredients are well incorporated without overmixing.
Preparation Tips
- Use melted unsalted butter for a rich, fudgy base.
- Always sift your cocoa powder to avoid clumps.
- Add red food coloring gradually until you reach your desired shade.
- Allow the brownies to cool completely before slicing for clean cuts.
- Use room temperature eggs to help everything mix more evenly.
Ingredient Breakdown
Dry Ingredients
- 1 cup all-purpose flour – for structure
- 5 tablespoons unsweetened cocoa powder – gives a mild chocolate base
- ½ teaspoon table salt – enhances all the flavors
Wet Ingredients
- 12 tablespoons unsalted butter, melted – provides moisture and richness
- 1¼ cups granulated sugar – balances the cocoa with sweetness
- 3 eggs – bind everything together
- ¾ teaspoon vanilla extract – enhances the red velvet flavor
- ¾ teaspoon white vinegar – gives a slight tang and helps the red color pop
- 10–12 drops red food coloring – provides the signature red hue
Add-ins
- 1 cup white chocolate chips, divided – ½ cup mixed in, ½ cup sprinkled on top
Step-by-Step Instructions
- Preheat your oven to 350°F (175°C). Line a 9×9-inch pan with parchment paper and spray with nonstick cooking spray.
- In a large bowl, whisk together melted butter, cocoa powder, salt, and sugar until well blended.
- Add the eggs, vanilla extract, and vinegar. Mix until the batter is smooth.
- Gradually fold in the flour. Before fully incorporated, add 7–12 drops of red food coloring. Mix gently to avoid overworking the batter.
- Fold in ½ cup of white chocolate chips.
- Pour the batter into the prepared pan and smooth the top with a spatula. Sprinkle the remaining ½ cup of white chocolate chips evenly over the surface.
- Bake for 22–25 minutes, or until a toothpick inserted in the center comes out with a few moist crumbs.
- Let the brownies cool in the pan for at least 1 hour. This helps them firm up and makes slicing cleaner.
Pro Tip: Start with fewer drops of food coloring and build up to your desired shade. Using too much can affect the taste.
Variation Idea: Swirl in softened cream cheese before baking for a red velvet cheesecake brownie effect.
How to Serve Red Velvet Brownies
Red velvet brownies are incredibly versatile when it comes to serving. Whether you’re hosting a dinner party, preparing holiday treats, or baking just because, there are multiple ways to present these decadent squares.
- Warm with ice cream – Serve slightly heated with a scoop of vanilla or cream cheese ice cream.
- Chilled from the fridge – Perfect for a firmer, fudgier texture.
- Topped with whipped cream – A dollop of fresh whipped cream adds a light contrast to the dense brownie.
- Dust with powdered sugar – A quick, elegant finish that adds sweetness and a bakery-style appearance.
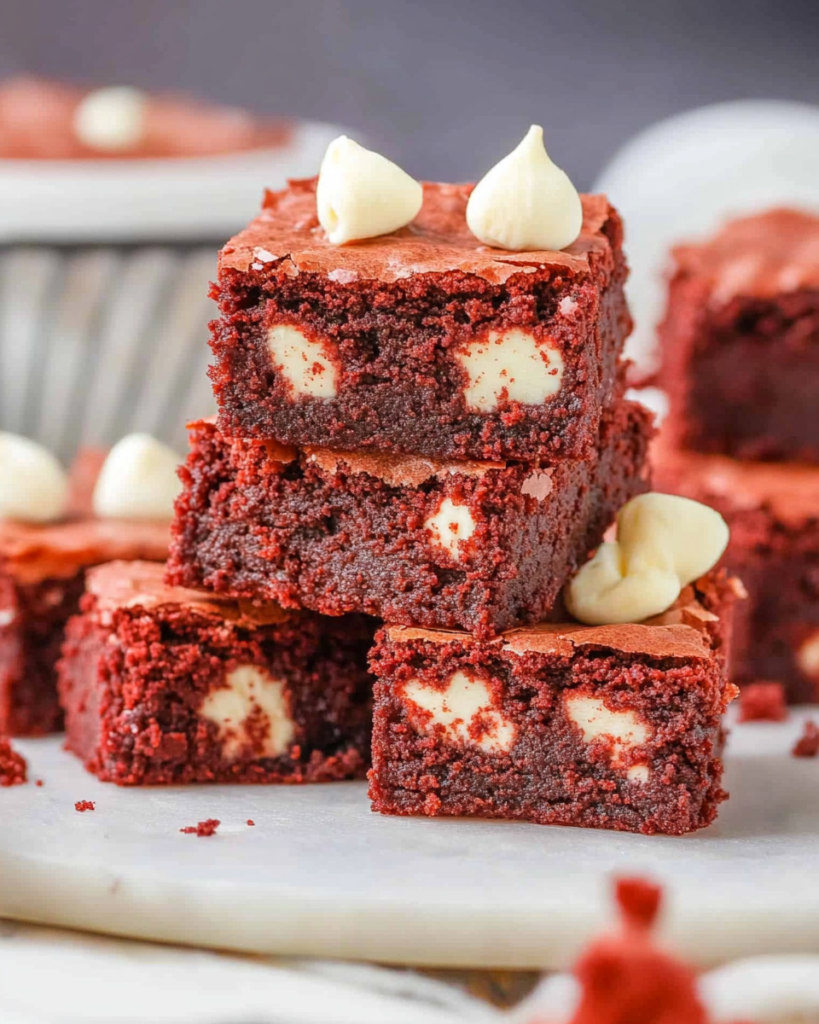
Cut the brownies into squares once they’ve fully cooled. For clean edges, use a sharp knife and wipe between slices. A bench scraper can also be used for neat, straight lines.
These brownies are perfect for themed dessert platters, potlucks, or individually wrapped as edible gifts. Their red color makes them especially fitting for Valentine’s Day, Christmas, or anniversaries.
Common Mistakes to Avoid
Avoiding these typical baking pitfalls ensures your red velvet brownies turn out perfectly fudgy, rich, and flavorful every time.
1. Overbaking
Overbaking leads to dry, crumbly brownies. Always check doneness with a toothpick. It should come out with a few moist crumbs—not clean. The center may look slightly underdone when you remove it from the oven, but it will set as it cools.
2. Too Much Food Coloring
Adding excessive food coloring can result in an artificial taste. Start with a few drops and build slowly. For natural alternatives, beet powder or pomegranate juice can offer a reddish hue without added chemicals.
3. Skipping the Vinegar
Vinegar might seem like an odd ingredient in a dessert, but it’s crucial. It reacts with the baking soda in red velvet batters (though this particular recipe doesn’t include baking soda, the vinegar still provides subtle tang and enhances the color). Without it, the flavor profile falls flat.
4. Overmixing the Batter
Too much mixing activates the gluten in the flour, leading to dense, cake-like brownies. Fold ingredients just until combined. Stop as soon as you no longer see dry flour in the mix.
5. Ignoring Cooling Time
Let the brownies cool in the pan for at least one hour before slicing. This allows them to set fully and makes them easier to cut. Slicing too soon results in a gooey mess and uneven portions.
Side Dish Recommendations
Pairing desserts with complementary side items enhances the overall eating experience. Here are eight excellent sides that go well with red velvet brownies:
1. Vanilla Bean Ice Cream
The creaminess balances the dense texture and subtle cocoa flavor. It’s a classic match.
2. Fresh Berries
Strawberries, raspberries, or blueberries add tartness and color. They contrast beautifully with the sweet, fudgy texture.
3. Whipped Cream with Mint
Light and fluffy whipped cream infused with mint creates a refreshing contrast. It also elevates the presentation.
4. Cream Cheese Frosting Dip
Serve a small side of cream cheese frosting as a dip or drizzle. This nods to traditional red velvet cake without overpowering the brownie.
5. Espresso or Dark Roast Coffee
The bitterness of coffee offsets the sweetness of the brownie, making for a balanced and adult-friendly dessert.
6. Chocolate Ganache
For those who want an ultra-indulgent experience, a side of warm ganache takes the richness to the next level.
7. Fruit Compote
Warm fruit compote, especially cherry or raspberry, adds depth and tang, enhancing the overall flavor complexity.
8. Milkshakes
A vanilla or red velvet milkshake works as a drink pairing or a dipping companion, especially for kids or festive gatherings.
Pairing your red velvet brownies with the right sides or toppings can elevate them from a simple dessert to a memorable treat. Whether served warm, cold, solo, or paired, they are guaranteed to impress guests or satisfy your sweet cravings.
Recipe Tips for Perfect Red Velvet Brownies
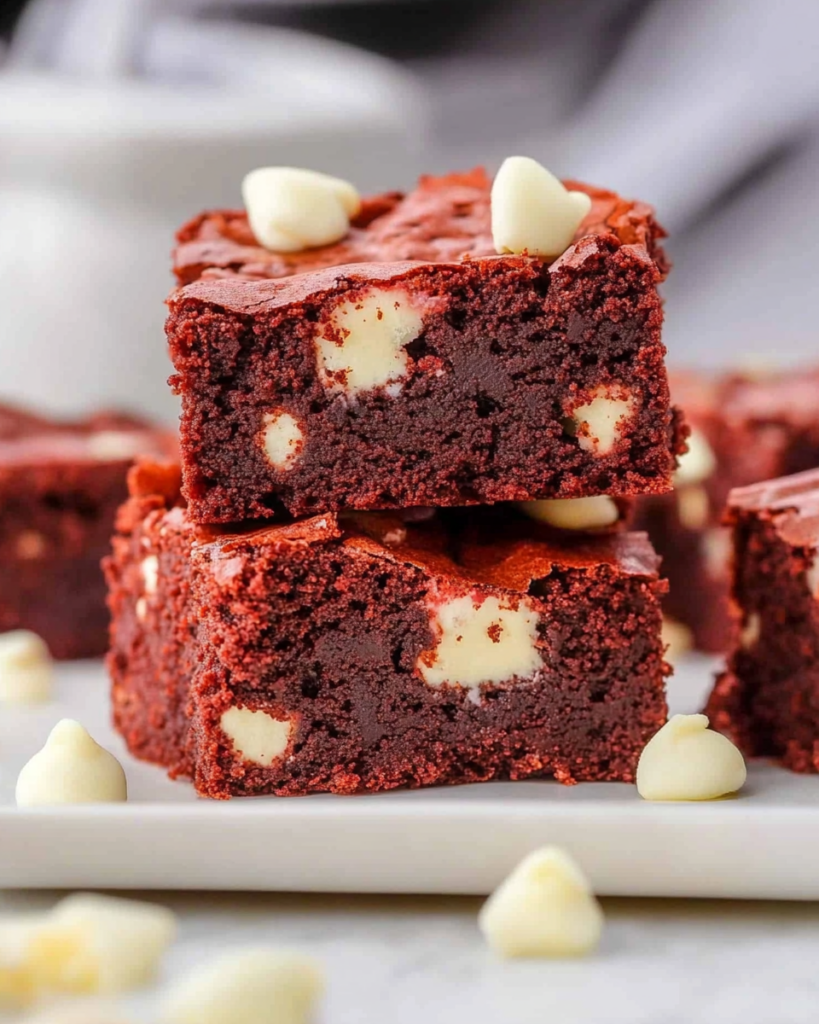
To master red velvet brownies, attention to small details can make all the difference. Follow these expert tips to ensure every batch comes out rich, fudgy, and beautifully red.
Use High-Quality Ingredients
- Choose a high-fat butter and premium unsweetened cocoa powder. The better the ingredients, the deeper and more refined the flavor.
- Use pure vanilla extract rather than imitation for a smoother, richer aroma.
Do Not Overmix the Batter
- Stir just until ingredients are incorporated. Overmixing creates a tougher texture due to excess gluten development.
Test with a Toothpick
- Insert a toothpick into the center of the brownies after about 22 minutes of baking. If it comes out with a few moist crumbs, they are ready. Overbaking leads to dryness.
Get the Red Just Right
- Use gel-based food coloring like Wilton drops for strong pigmentation with less liquid. Always add gradually and mix thoroughly before adding more.
Let Them Cool Completely
- Patience is key. Cooling for at least one hour helps set the brownies, making them easier to cut and enhancing their fudgy texture.
Storage and Reheating Instructions
Proper storage keeps your red velvet brownies fresh and delicious for days.
At Room Temperature
- Store in an airtight container for up to 4 days. Place parchment between layers to prevent sticking.
Refrigeration
- For a firmer texture and slightly longer shelf life, refrigerate in a sealed container for up to 7 days.
Freezing
- Wrap individual brownie squares in plastic wrap and place in a freezer-safe bag or container. Freeze for up to 2 months. Thaw at room temperature for 1–2 hours before serving.
Reheating Tips
- To enjoy warm, microwave a brownie square for 10–15 seconds. Avoid overheating, which can make them dry.
Frequently Asked Questions
What makes red velvet brownies red?
The red color typically comes from food coloring, but it’s supported by the chemical reaction between cocoa powder and vinegar. Some natural alternatives include beet powder or pomegranate juice.
Can I substitute beet juice for food coloring?
Yes, but it may slightly affect the flavor and result in a more muted red tone. Use unsweetened beet juice or beet powder for the best results.
Is vinegar necessary in red velvet brownies?
Yes. Even though this recipe doesn’t use baking soda, the vinegar enhances the color and adds the signature tangy flavor found in red velvet desserts.
Can I make these gluten-free?
Absolutely. Substitute the all-purpose flour with a 1:1 gluten-free baking blend. Ensure all other ingredients are gluten-free certified.
Can I use a different type of chocolate chip?
Yes. Dark or semi-sweet chocolate chips provide a more intense cocoa flavor. You can also try butterscotch or peanut butter chips for a unique twist.
How do I keep brownies moist?
Avoid overbaking and always store them in an airtight container. Adding an extra egg yolk or a tablespoon of sour cream to the batter can also enhance moisture.
Are these brownies supposed to be cakey or fudgy?
This recipe is designed to be fudgy, not cakey. If you prefer a lighter texture, increase the flour slightly and bake for a few extra minutes.
Can I double the recipe?
Yes. For a 9×13-inch pan, double all ingredients and increase the bake time to 30–35 minutes. Keep an eye on doneness starting at the 30-minute mark.
Can I make this with boxed cake mix?
You can create a shortcut version using a red velvet cake mix and adjusting the ingredients to reduce the cake-like texture. However, the homemade version delivers the best flavor and consistency.
What is the difference between red velvet cake and red velvet brownies?
Red velvet cake is lighter, fluffier, and often paired with cream cheese frosting. Red velvet brownies are denser, richer, and more like traditional brownies in texture, with a similar flavor profile.
Conclusion
Red velvet brownies are a stunning and flavorful dessert that brings together the rich texture of brownies and the charm of red velvet cake. Their vibrant color, balanced sweetness, and fudgy interior make them a go-to treat for special occasions or everyday indulgence.
Easy to prepare and endlessly customizable, this recipe will quickly become a favorite in your baking rotation. Whether you serve them plain, with ice cream, or paired with cream cheese frosting, they are guaranteed to impress.
Try them today and see why these red velvet brownies deserve a permanent spot in your dessert lineup.
Red Velvet Brownies
Ingredients
- 12 tablespoons unsalted butter melted
- 5 tablespoons unsweetened cocoa powder
- ½ teaspoon table salt
- 1¼ cups granulated sugar
- 3 eggs
- ¾ teaspoon vanilla extract
- ¾ teaspoon white vinegar
- 1 cup all-purpose flour
- 10 –12 drops Wilton red food coloring adjust to desired color
- 1 cup white chocolate chips divided
Instructions
- Preheat oven to 350°F (175°C). Line a 9×9-inch baking pan with parchment paper and spray with nonstick cooking spray.
- In a large bowl, whisk together melted butter, cocoa powder, salt, and sugar until fully combined.
- Add the eggs, vanilla extract, and vinegar. Mix until smooth.
- Gently fold in the flour. Before it is completely mixed, add 7 drops of red food coloring, adding more until the desired red color is reached.
- Fold in ½ cup of the white chocolate chips.
- Pour the batter into the prepared baking pan and smooth the top. Sprinkle the remaining ½ cup of white chocolate chips evenly over the top.
- Bake for 22–25 minutes, or until a toothpick inserted in the center comes out with a few moist crumbs.
- Allow the brownies to cool in the pan for at least 1 hour before slicing into squares and serving.