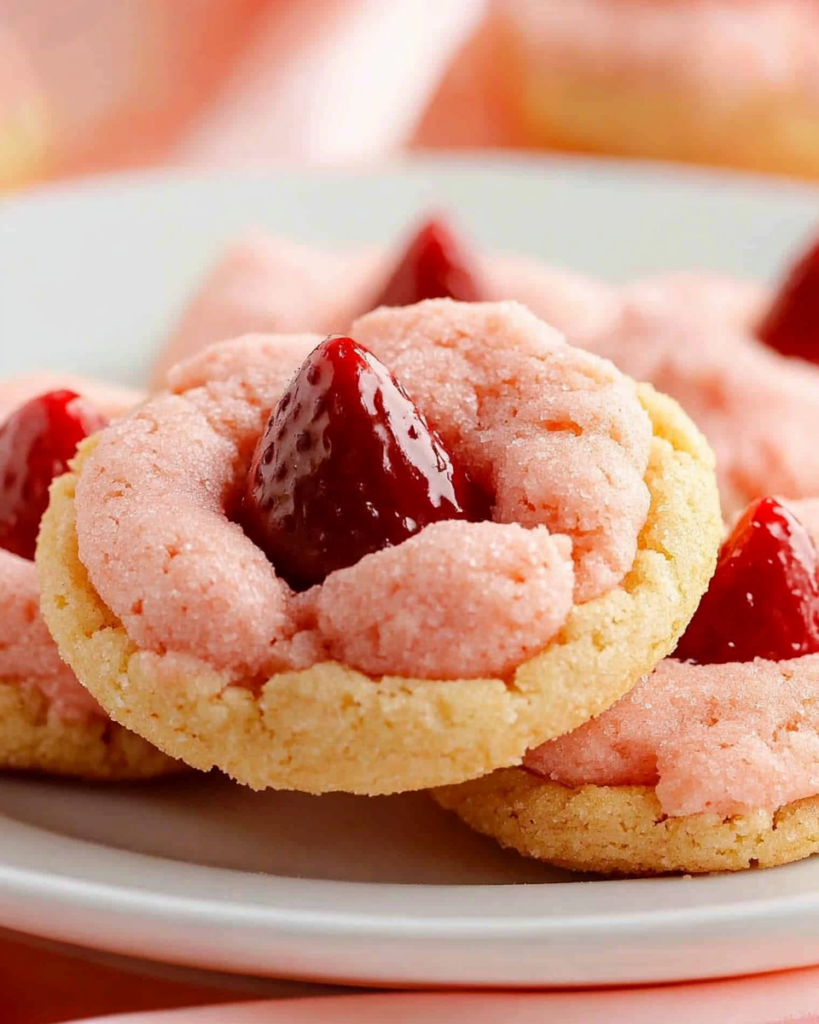
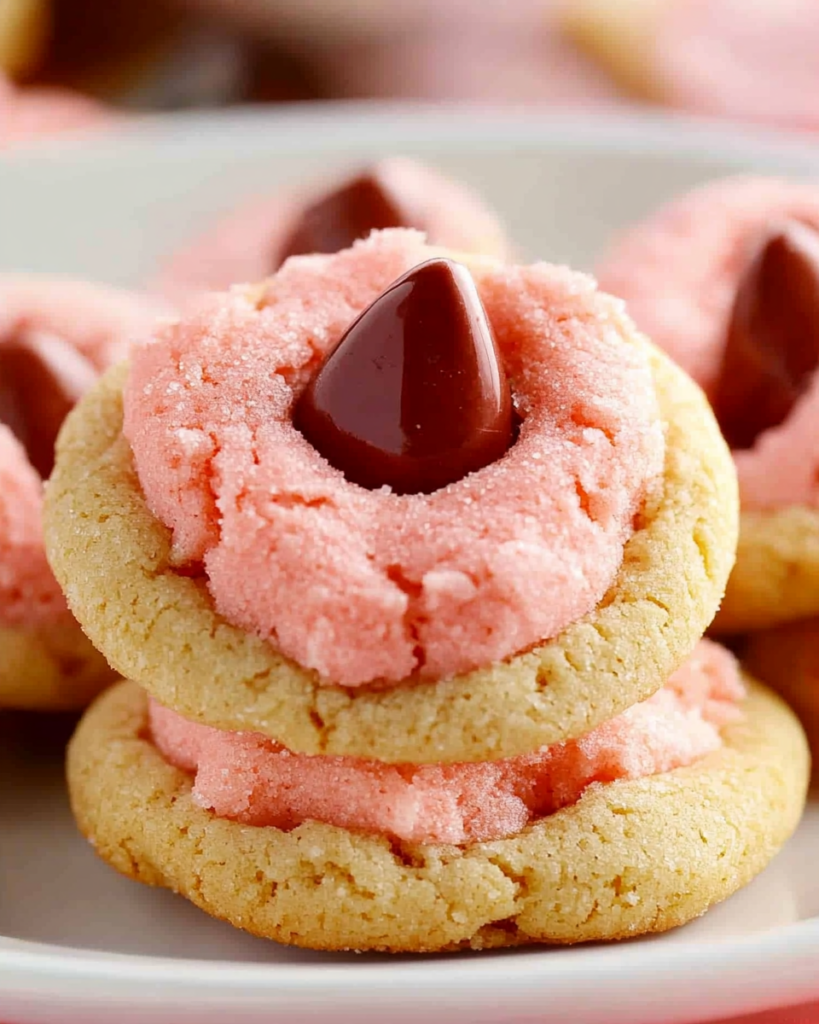
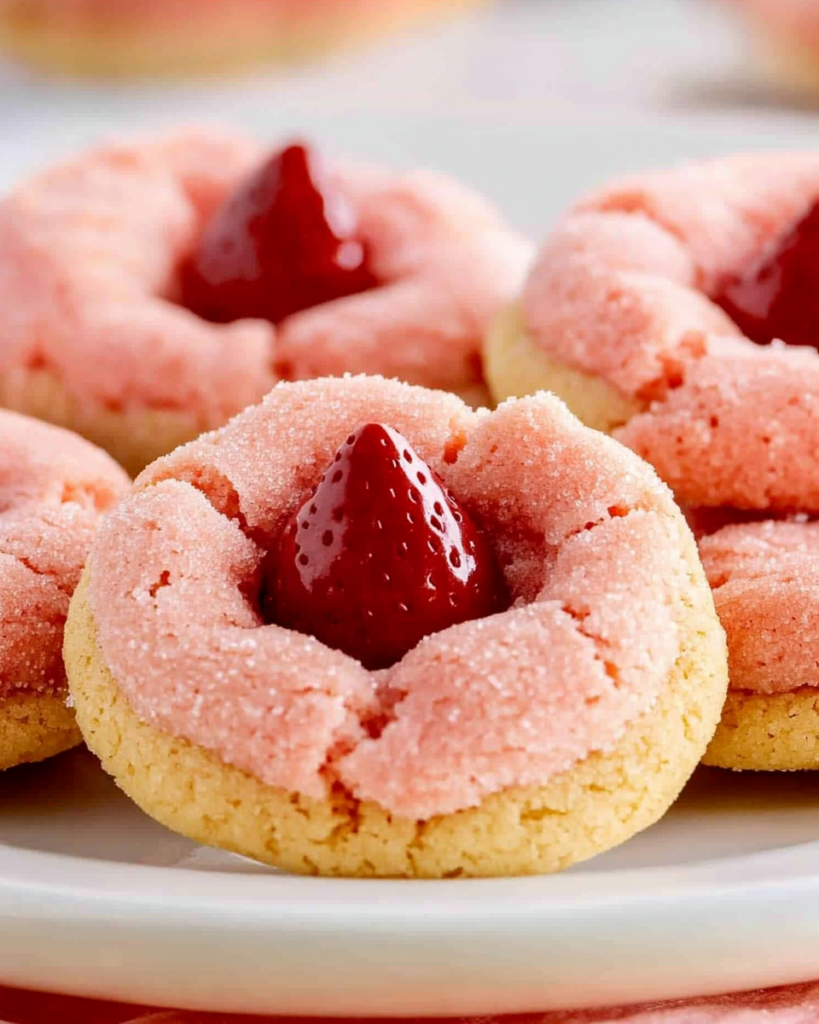
Strawberry Kiss Cookies are the kind of treat that instantly captures attention. With their soft pink hue, sugar-dusted exterior, and a signature Hershey’s Kiss pressed into the center, these cookies are visually stunning and absolutely delicious. Best of all, they come together quickly using a clever shortcut—strawberry cake mix—making them an ideal option for beginner bakers or anyone looking to whip up a quick, crowd-pleasing dessert.
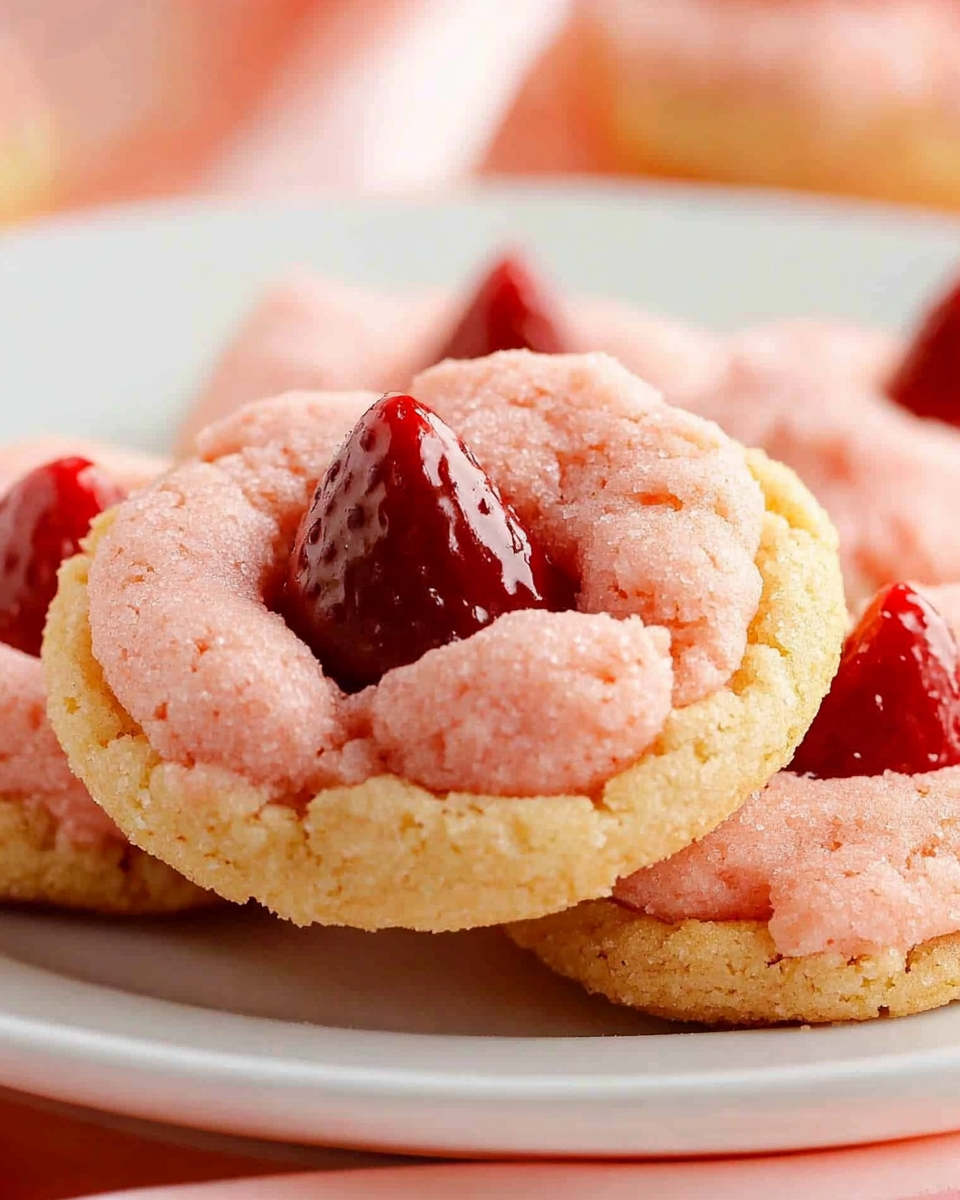
Perfect for holidays like Valentine’s Day, baby showers, or springtime parties, these cookies also make a charming addition to any cookie platter. They are soft, chewy, and bursting with a fruity strawberry flavor, balanced by the rich chocolate center. This winning combination, along with the ease of preparation, makes Strawberry Kiss Cookies a go-to recipe for any occasion.
Why You’ll Love This Recipe
- Made with a boxed strawberry cake mix for minimal prep and maximum flavor
- Soft and chewy texture, with a slight crunch from the sugar coating
- A chocolate kiss in the center adds richness and contrast
- Customizable with different varieties of Hershey’s Kisses
- Eye-catching and festive—perfect for gifts or celebrations
Preparation Phase and Tools to Use
Before diving into the mixing and baking, it’s important to gather all necessary tools and ingredients. Preparation is the key to a smooth baking experience.
Essential Tools and Equipment
- Mixing bowls (one large, one medium)
- Cookie scoop (preferably #30 or about 2 tablespoons)
- Spatula or wooden spoon
- Baking sheets (2)
- Parchment paper or silicone baking mats
- Wire cooling rack
Importance of Each Tool
Each tool plays a specific role in ensuring a consistent and delicious final product. The cookie scoop ensures uniform size and baking time. Parchment paper prevents sticking and makes cleanup simple. A cooling rack allows cookies to set properly without becoming soggy.
Preparation Tips for the Best Cookies
- Chill the dough: This is essential for preventing excessive spreading and achieving a soft, thick cookie.
- Do not overmix: Mix the dough just until combined to avoid a tough texture.
- Cool the kisses: Keep Hershey’s Kisses in the fridge until ready to use. This prevents them from melting too quickly when pressed into the warm cookies.
- Roll thoroughly: Ensure each dough ball is evenly coated in sugar for the signature sparkle.
Ingredients List
Organize your ingredients before starting. This makes the baking process smoother and more efficient.
- 1 box strawberry cake mix
- 2 tablespoons all-purpose flour
- ¼ cup vegetable oil
- 2 eggs
- 1 tablespoon milk
- Granulated sugar (for rolling)
- Hershey’s Kisses, unwrapped (any variety)
Step-by-Step Instructions
1. Make the Dough
- In a large mixing bowl, combine the vegetable oil and eggs. Stir until well blended.
- Gradually add the all-purpose flour and strawberry cake mix. Stir until a thick dough forms.
- Add the milk and mix until just incorporated. Do not overmix.
2. Shape and Chill
- Use a cookie scoop to portion the dough into 2-tablespoon-sized balls.
- Roll each dough ball in granulated sugar until fully coated.
- Place the balls on a tray, cover with plastic wrap, and refrigerate for at least 1 hour.
3. Bake
- Preheat your oven to 375°F.
- Line two baking sheets with parchment paper.
- Arrange chilled dough balls on the baking sheets, spacing them about 2 inches apart.
- Bake for 8 to 10 minutes, or until the edges are set but the centers remain soft.
4. Add the Kisses
- Immediately after removing cookies from the oven, gently press a Hershey’s Kiss into the center of each cookie.
- Let cookies cool on the baking sheet for 5 minutes before transferring to a wire rack to cool completely.
Customization Tips
- Use white chocolate, caramel, or dark chocolate Kisses for flavor variety.
- Add colorful sprinkles to the sugar for a more festive appearance.
- Try different cake mix flavors such as lemon or chocolate for unique variations.
These Strawberry Kiss Cookies strike the perfect balance between beauty and flavor. With minimal effort and maximum impact, they’re destined to become a favorite in your dessert rotation.
Serving Suggestions for Strawberry Kiss Cookies
Strawberry Kiss Cookies are not only a joy to make, but they’re also incredibly versatile when it comes to presentation. Whether you’re hosting a party or putting together a treat box, these cookies can easily become the centerpiece of your dessert offering.
Here are some creative and effective ways to serve them:
- On a themed dessert platter: Combine these pink cookies with chocolate truffles, heart-shaped candies, and macarons for a Valentine’s Day or romantic-themed platter.
- With a glass of milk or hot chocolate: The sweet and slightly tangy strawberry flavor pairs beautifully with creamy drinks like milk, hot cocoa, or a vanilla latte.
- As a party favor: Wrap a few cookies in clear cellophane bags tied with a ribbon for adorable take-home gifts.
- In a cookie assortment box: Add variety by pairing these with chocolate chip, snickerdoodle, and peanut butter cookies for a complete gift or bake sale item.
- Stacked as a centerpiece: Arrange cookies on a tiered cake stand with pink or red accents to create a beautiful edible centerpiece.
- Topped with ice cream: Place a warm cookie under a scoop of vanilla ice cream for a quick and impressive dessert.
- With fresh fruit: Serve alongside a bowl of fresh strawberries and raspberries to enhance the fruity flavors.
- Crumbled over yogurt or pudding: Add texture and flavor by crumbling cookies over a cup of Greek yogurt or vanilla pudding.
Common Mistakes to Avoid
Even simple recipes like Strawberry Kiss Cookies can go wrong without a few careful considerations. Avoid these common pitfalls to ensure your cookies turn out perfect every time.
Skipping Chill Time
Chilling the dough is essential. It helps firm up the cookie dough, which keeps the cookies from spreading too much during baking. If the dough is too soft, you’ll end up with flat, thin cookies instead of thick, soft-centered ones.
Overbaking the Cookies
It’s tempting to wait for the cookies to appear fully baked before pulling them out of the oven, but they should be slightly underdone in the center. They continue baking on the hot pan after being removed from the oven, which helps them stay soft and chewy.
Using Warm Hershey’s Kisses
If the Kisses are too soft or warm when placed on the hot cookies, they’ll melt and lose their shape. Always store your Kisses in a cool place until you’re ready to use them. Ideally, refrigerate them beforehand to ensure they hold their shape.
Not Measuring the Dough Consistently
Using a cookie scoop ensures even baking and a uniform look. If you make the cookie balls too large or small, baking times will vary, and the cookies may come out inconsistent in texture.
Overmixing the Dough
Mix only until the ingredients are just combined. Overmixing activates too much gluten in the flour, resulting in dense and tough cookies rather than a soft, tender texture.
Side Dish Recommendations
If you’re serving these cookies as part of a larger spread or dessert table, consider pairing them with complementary sweets or light snacks. Here are eight great side dish ideas that balance or enhance the strawberry and chocolate flavors:
- Mini strawberry shortcakes – The fresh berries and whipped cream offer a light contrast.
- Raspberry mousse cups – Rich, creamy mousse paired with tart raspberry highlights the fruity cookie base.
- Vanilla pudding or custard – Smooth and mellow, these pair well with the sweetness of the cookies.
- Chocolate-covered strawberries – Reinforces the strawberry-chocolate flavor combination.
- Strawberry milkshakes – A refreshing, creamy drink to complement the chewy texture of the cookies.
- Mini cheesecakes – Offer a tangy and creamy contrast to the cookies’ sweetness.
- Chocolate fondue with fruit – A dipping station with fresh fruits, cookies, and pretzels can be a fun and interactive dessert table addition.
- Lemon bars or citrus tarts – Provide a tart, zesty counterpart to balance the rich cookie flavors.
Pro Tips for Making the Best Strawberry Kiss Cookies
Even with a simple recipe, a few extra insights can help elevate your Strawberry Kiss Cookies from good to bakery-level delicious. These tips ensure the perfect texture, flavor, and appearance every time you bake.
Use Room Temperature Eggs
Cold eggs can cause the oil to clump, which leads to an uneven dough. Let your eggs sit at room temperature for about 30 minutes before starting the recipe for the best results.
Keep the Dough Covered While Chilling
Cover the dough with plastic wrap during chilling to prevent it from drying out. This also prevents the dough from absorbing any odors from the refrigerator.
Don’t Skip the Sugar Coating
Rolling the dough in granulated sugar before baking does more than add sparkle. It creates a delicate crust that enhances the cookie’s texture and provides a subtle crunch that complements the soft interior.
Press the Kisses Gently and Quickly
Add the Hershey’s Kisses as soon as the cookies come out of the oven. Press gently but firmly. Waiting too long will make the cookie surface harden, which can cause cracking when the Kiss is added.
Try Flavor Variations
While the classic recipe calls for milk chocolate Kisses, you can easily customize with other flavors:
- White chocolate Kisses for a creamier contrast
- Dark chocolate for a richer taste
- Hugs (swirled white and milk chocolate) for a marbled effect
- Candy cane Kisses for a holiday twist
Storage Instructions
Proper storage keeps your Strawberry Kiss Cookies fresh, soft, and ready to enjoy days after baking. Here’s how to store them correctly:
At Room Temperature
Place cookies in an airtight container with parchment paper between the layers to prevent sticking. Store at room temperature for up to 5 days. For best freshness, place a slice of bread in the container to maintain softness.
In the Freezer
To freeze baked cookies:
- Let them cool completely.
- Layer them in a freezer-safe container with parchment paper between each layer.
- Store for up to 2 months.
To freeze dough:
- Roll into balls and freeze on a baking sheet until solid.
- Transfer to a freezer-safe bag or container.
- When ready to bake, roll frozen dough balls in sugar and bake from frozen, adding 1 to 2 minutes to the baking time.
Reheating
To enjoy warm cookies, microwave for 5 to 7 seconds. This softens the cookie and slightly melts the chocolate center for a just-baked experience.
Frequently Asked Questions
Can I make the dough ahead of time?
Yes, the dough can be made up to 48 hours in advance and kept covered in the refrigerator. Just scoop, roll in sugar, and bake when ready.
Can I use different cake mix flavors?
Absolutely. Lemon, vanilla, or even chocolate cake mix can be used for variations. However, strawberry cake mix gives these cookies their signature flavor and color.
Are these cookies gluten-free?
Not with the original ingredients. However, you can substitute with a gluten-free cake mix and gluten-free flour to make them suitable for a gluten-free diet.
Can I use oil alternatives like butter?
Vegetable oil keeps the cookies soft and moist, but you can use melted butter for a richer flavor. Just note that the texture may become slightly more dense.
What type of milk works best?
Any milk will work, including dairy-free alternatives such as almond or oat milk. The milk simply adds a touch of moisture to help bind the dough.
Do the Kisses melt completely in the cookie?
No. When added to hot cookies and left to cool, the Kisses soften but hold their shape. Refrigerate them before use for best results.
How many cookies does this recipe make?
The recipe yields approximately 22 cookies, depending on the size of the dough balls.
Conclusion
Strawberry Kiss Cookies offer a delightful mix of convenience and flavor. From their vibrant pink color to the rich chocolate center, every bite delivers a sweet surprise. With the right storage and a few simple baking tips, these cookies are perfect for celebrations, homemade gifts, or cozy nights at home. Whether you stick to the classic version or experiment with new twists, this is one dessert that belongs in your regular baking rotation.
Strawberry Kiss Cookies
Ingredients
- 1 box strawberry cake mix
- 2 tablespoons all-purpose flour
- ¼ cup vegetable oil
- 2 eggs
- 1 tablespoon milk
- Granulated sugar for rolling
- Hershey Kisses unwrapped
Instructions
Make the Dough:
- In a large bowl, mix together the vegetable oil and eggs until well combined.
- Gradually add in the flour and strawberry cake mix. Stir in the milk and mix just until a dough forms.
Shape and Chill:
- Using a #30 cookie scoop or about 2 tablespoons per cookie, scoop the dough into balls.
Roll each ball in granulated sugar.
- Cover and chill the dough in the refrigerator for at least 1 hour.
Bake:
- Preheat oven to 375ºF. Line two cookie sheets with parchment paper.
- Bake cookies one sheet at a time for 8–10 minutes. Keep remaining dough chilled between batches.
Add the Kisses:
- Immediately after baking, gently press a Hershey Kiss into the center of each warm cookie.
- Allow the cookies to cool completely before transferring or storing.